Optimize Your 3D Photography Camera Setup Today

In the world of photography, 3D photography stands out as an ingenious technique that creates a more immersive and realistic viewing experience. Whether you are a seasoned professional or an enthusiastic hobbyist, optimizing your 3D photography camera setup can significantly enhance the quality of your images. This comprehensive guide aims to provide you with insights into enhancing your 3D photography setup, ensuring you capture stunning images that leap off the screen.
Understanding 3D Photography
Before diving into optimization techniques, it’s crucial to understand what 3D photography entails. Unlike traditional photography that captures two-dimensional images, 3D photography uses stereoscopic techniques to create depth perception. It involves capturing two slightly offset images, mimicking the way human eyes perceive depth, which are then combined to create a three-dimensional effect.
Choosing the Right Equipment
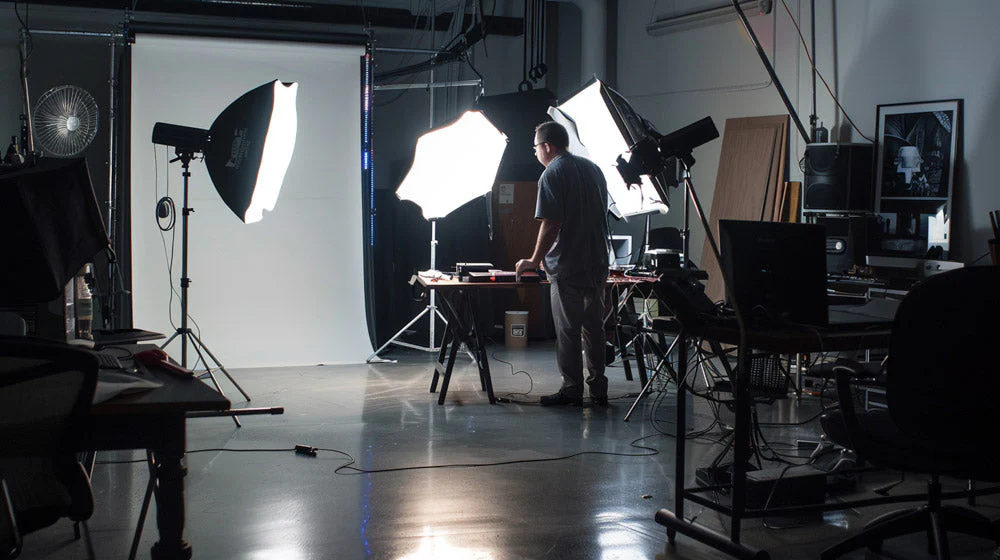
The first step in optimizing your 3D photography setup is selecting the right equipment. The choice of camera, lenses, and accessories can significantly impact the final output.
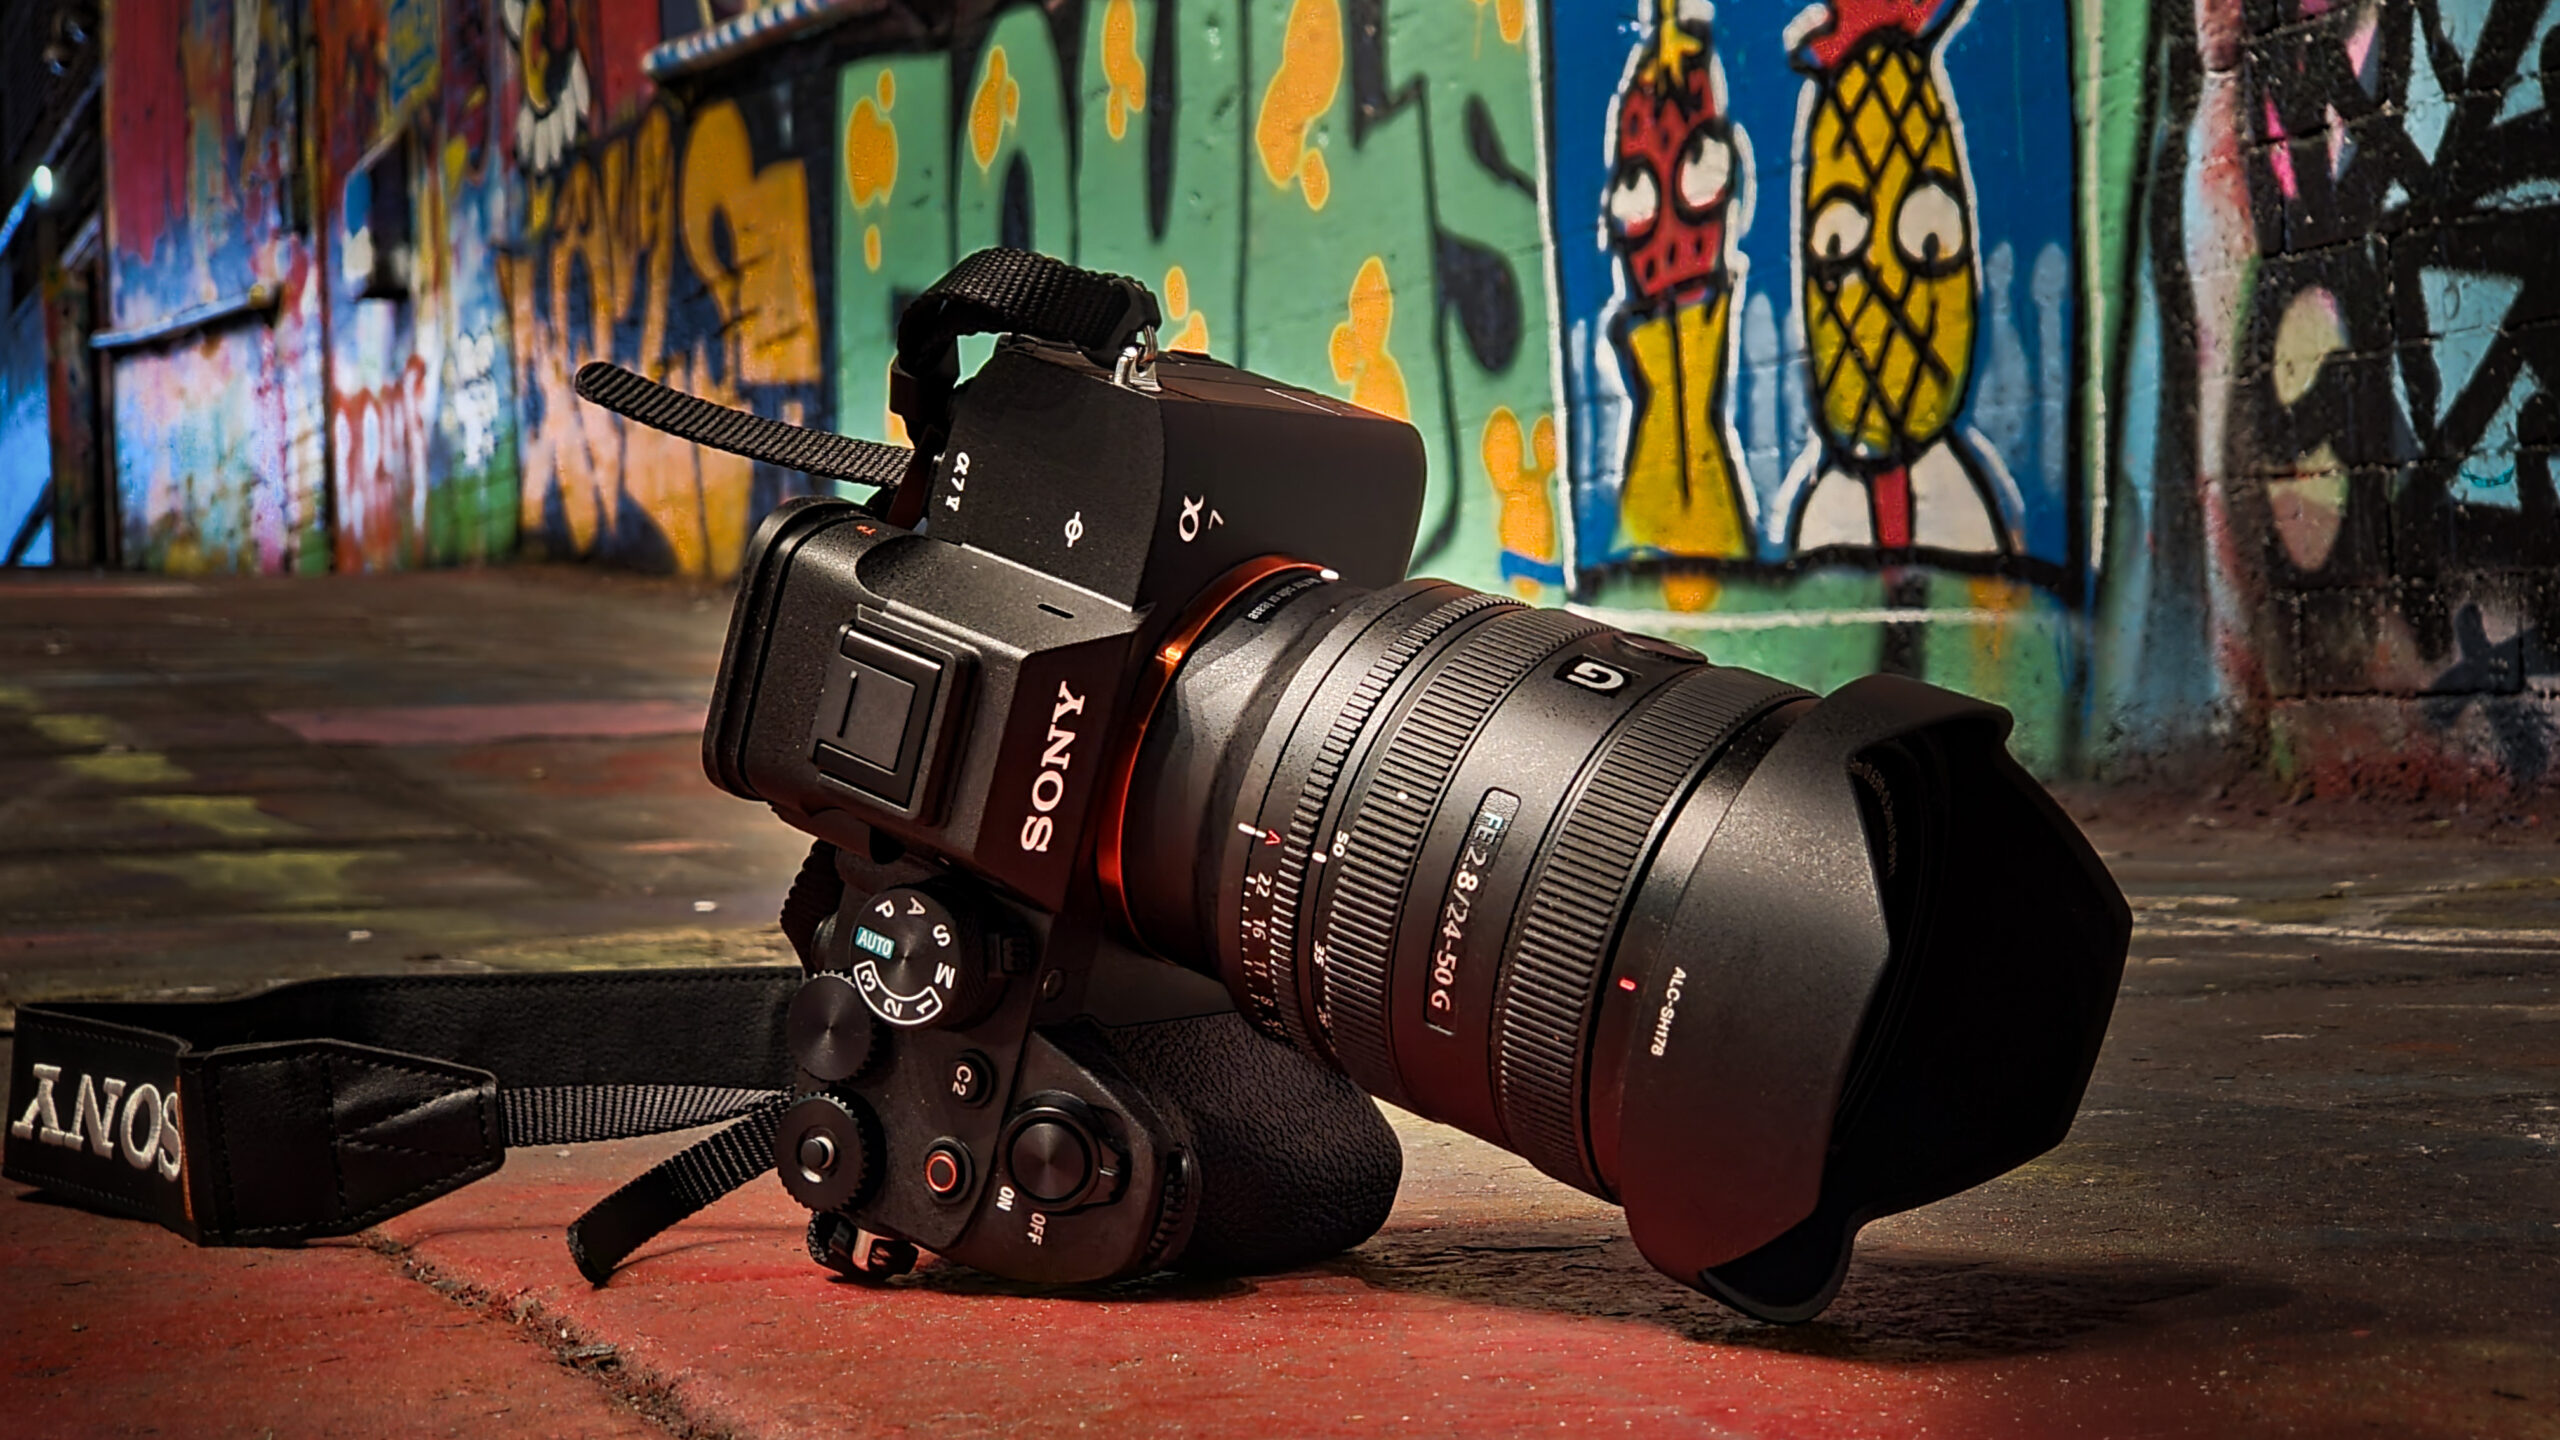
Cameras
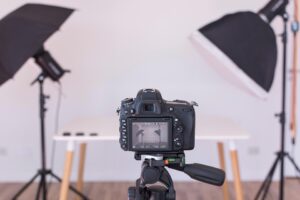
While any camera can technically be used for 3D photography, certain models are better suited for the task. Look for cameras that allow for manual control over aperture, shutter speed, and focus. Mirrorless cameras and DSLRs often offer more flexibility and better image quality. Additionally, consider cameras specifically designed for 3D photography, which come equipped with dual lenses to capture stereoscopic images simultaneously.
Lenses
The choice of lenses is equally important. Wide-angle lenses are generally preferred for 3D photography as they allow for a greater field of view, enhancing the depth perception in the image. However, the selection of the lens should also be based on the subject and the desired effect. Experimenting with different focal lengths can yield interesting results.
Accessories
To further enhance your 3D photography setup, consider investing in accessories like tripods and sliders. A sturdy tripod ensures stability and precision, which is crucial when capturing stereoscopic images. Sliders can be used to adjust the position of the camera smoothly, allowing for more dynamic shots.
Optimizing Camera Settings
Once you have the right equipment, optimizing your camera settings is the next step. Properly configuring your camera can make a significant difference in the quality of your 3D images.
Aperture
The aperture setting controls the depth of field in your images. For 3D photography, a smaller aperture (higher f-stop number) is often preferable as it ensures a larger portion of the scene is in focus, enhancing the 3D effect. However, this depends on the lighting conditions and the specific effect you want to achieve.
Shutter Speed
Shutter speed is crucial for capturing motion without blur. In 3D photography, it’s essential to maintain a fast enough shutter speed to prevent motion blur, especially when capturing moving subjects. However, slower shutter speeds can be used creatively to introduce motion effects.
ISO
ISO settings determine the camera’s sensitivity to light. For 3D photography, it’s important to find a balance between sensitivity and noise. Lower ISO settings are preferable to minimize noise, but ensure there’s enough light to properly expose the image.
Lighting Techniques
Lighting plays a crucial role in 3D photography, affecting the mood, depth, and clarity of the images.
Natural Light
Utilizing natural light is an excellent way to enhance 3D images. The soft, diffused light during the golden hours (early morning and late afternoon) can add a natural depth to your photos. However, be mindful of harsh shadows and overexposure.
Artificial Lighting
In controlled environments, artificial lighting can be used to create dramatic effects and highlight specific areas of the composition. By experimenting with different lighting angles and intensities, you can add depth and dimension to your 3D images.
Post-Processing for 3D Photography
The final stage of optimizing your 3D photography setup is post-processing. Editing software can be used to fine-tune images, ensuring they achieve the desired 3D effect.
Aligning Images
In post-processing, aligning the two images is crucial to creating a convincing 3D effect. Software like Adobe Photoshop or specialized 3D photo editing tools can be used to adjust and align images accurately.
Adjusting Depth
Adjusting the depth of the stereoscopic image can enhance the 3D effect. This involves manipulating the parallax between the images to create a more pronounced depth perception.
Color Correction and Enhancement
Color correction and enhancement can significantly improve the overall aesthetics of your 3D images. Adjusting contrast, saturation, and brightness can help in highlighting the depth and details in the image.
Conclusion
Optimizing your 3D photography camera setup involves a combination of choosing the right equipment, adjusting camera settings, utilizing effective lighting, and refining images through post-processing. By paying attention to each of these aspects, you can significantly enhance the quality of your 3D images, making them more immersive and engaging. As with any form of photography, practice and experimentation are key. Continuously exploring different techniques and settings will help you develop a unique style and create stunning 3D photographs that captivate viewers.
#ChatGPT assisted in the creation of this article.


Post Comment