Mastering Dual Camera Rigs for Stunning 3D Shots

Dual Camera Rigs
Creating captivating 3D shots has become increasingly accessible with advancements in camera technology. At the heart of this technique lies the dual camera rig, a setup that enables filmmakers and photographers to capture immersive three-dimensional images and videos. Mastering dual camera rigs requires an understanding of both the technical and creative aspects of 3D imaging. This article aims to guide you through the essentials of using dual camera rigs to produce stunning 3D shots, covering everything from selection and setup to post-processing and editing.
Understanding the Basics of 3D Imaging
Before diving into dual camera rigs, it’s essential to grasp the fundamentals of 3D imaging. At its core, 3D imaging replicates the way human eyes perceive depth. Our eyes are spaced apart, providing two slightly different perspectives, which the brain combines to create a sense of depth. Dual camera rigs mimic this process by using two cameras placed at an interocular distance, capturing images that, when combined, produce a stereoscopic effect.
The Role of Stereo Base
The stereo base, or interocular distance, is the distance between the two cameras in a dual camera rig. This distance is crucial as it determines the depth effect in your 3D shots. A larger stereo base can enhance depth perception in distant scenes but may distort closer objects. Conversely, a smaller stereo base is ideal for close-up shots but may reduce the depth effect in distant scenes. Balancing the stereo base according to your subject and scene is key to mastering dual camera rigs.
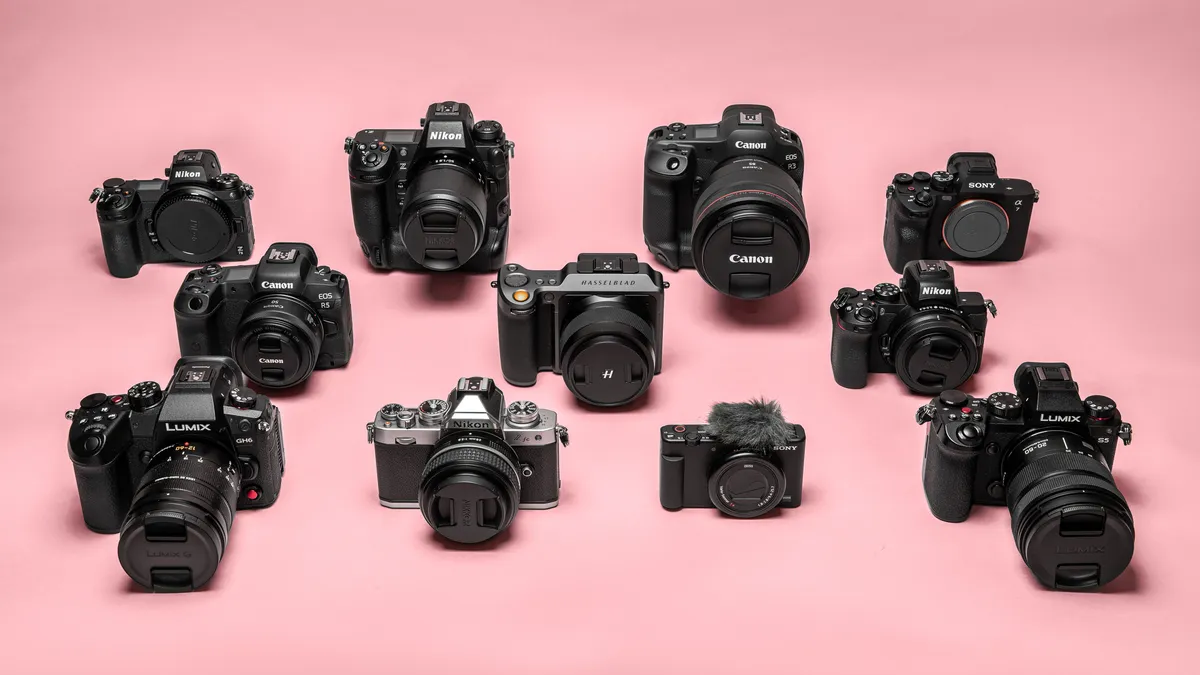
Choosing the Right Cameras and Equipment
Selecting the appropriate cameras and equipment is a critical step in setting up a dual camera rig. Consider the following factors:
Camera Compatibility
Ensure that both cameras are identical or at least similar in specifications. Differences in lens focal lengths, sensor sizes, or image processing can lead to discrepancies in the captured images, complicating the 3D fusion process.
Lens Selection
Wide-angle lenses are commonly preferred for 3D shooting as they capture more of the scene and enhance the sense of depth. However, the choice of lens should align with the specific requirements of your shot.
Synchronization
For seamless 3D shots, it is vital to synchronize the cameras’ shutter release and settings. Some dual camera rigs come with built-in synchronization options, while others may require external synchronization devices.
Setting Up Your Dual Camera Rig
Once you’ve selected your equipment, it’s time to set up your dual camera rig. Follow these steps to ensure a smooth setup process:
Mounting the Cameras
Mount the cameras securely on a rig that allows for adjustable interocular distance. Ensure that both cameras are level and aligned correctly to avoid parallax errors.
Adjusting the Stereo Base
Depending on your scene and subject, adjust the stereo base to achieve the desired depth effect. Testing different settings will help you find the optimal configuration.
Calibrating the Cameras
Calibrate both cameras to ensure consistent exposure, white balance, and focus. A misalignment in settings can lead to mismatched images that are difficult to merge in post-processing.
Testing and Troubleshooting
Before proceeding with your shoot, conduct test shots to identify any alignment or synchronization issues. Address any problems before capturing your final 3D shots.
Capturing Stunning 3D Shots
With your dual camera rig set up, you are ready to capture stunning 3D shots. Consider these tips to enhance the quality of your 3D imagery:
Composition and Framing
Compose your shots with depth in mind. Utilize foreground, midground, and background elements to create layers that enhance the 3D effect. Pay attention to framing, ensuring that key elements are not cut off in the stereo view.
Lighting Considerations
Lighting plays a crucial role in 3D photography. Even lighting helps maintain consistency across both images, while shadows and highlights can add depth and dimension to your shots.
Movement and Motion
Incorporating movement into your 3D shots can intensify the depth effect. Experiment with camera movements, such as dolly shots or pans, to add dynamic elements to your scenes.
Post-Processing and Editing
After capturing your shots, the next step is post-processing and editing. This phase is crucial for merging the images from your dual camera rig into a cohesive 3D output.
Image Alignment
Align the images from both cameras to ensure that they merge seamlessly. Use software tools designed for 3D editing to adjust any alignment discrepancies.
Color Correction and Grading
Consistent color grading is essential for maintaining the 3D illusion. Adjust the color balance and contrast to ensure uniformity across both images.
Output Formats
Choose the appropriate output format for your 3D content. Common formats include anaglyph (red/cyan glasses) and polarized 3D, each offering unique viewing experiences.
Conclusion: The Art and Science of 3D Imaging
Mastering dual camera rigs for stunning 3D shots is both an art and a science. It requires a balance of technical know-how and creative vision to produce imagery that captivates and immerses viewers. By understanding the fundamentals of 3D imaging, selecting the right equipment, and meticulously setting up and editing your shots, you can harness the full potential of dual camera rigs. Whether you’re a filmmaker, photographer, or hobbyist, embracing the world of 3D imaging opens up a new dimension of storytelling and visual exploration.
#ChatGPT assisted in the creation of this article.


Post Comment