Mastering 3D Photography: Top Techniques for Stunning Shots
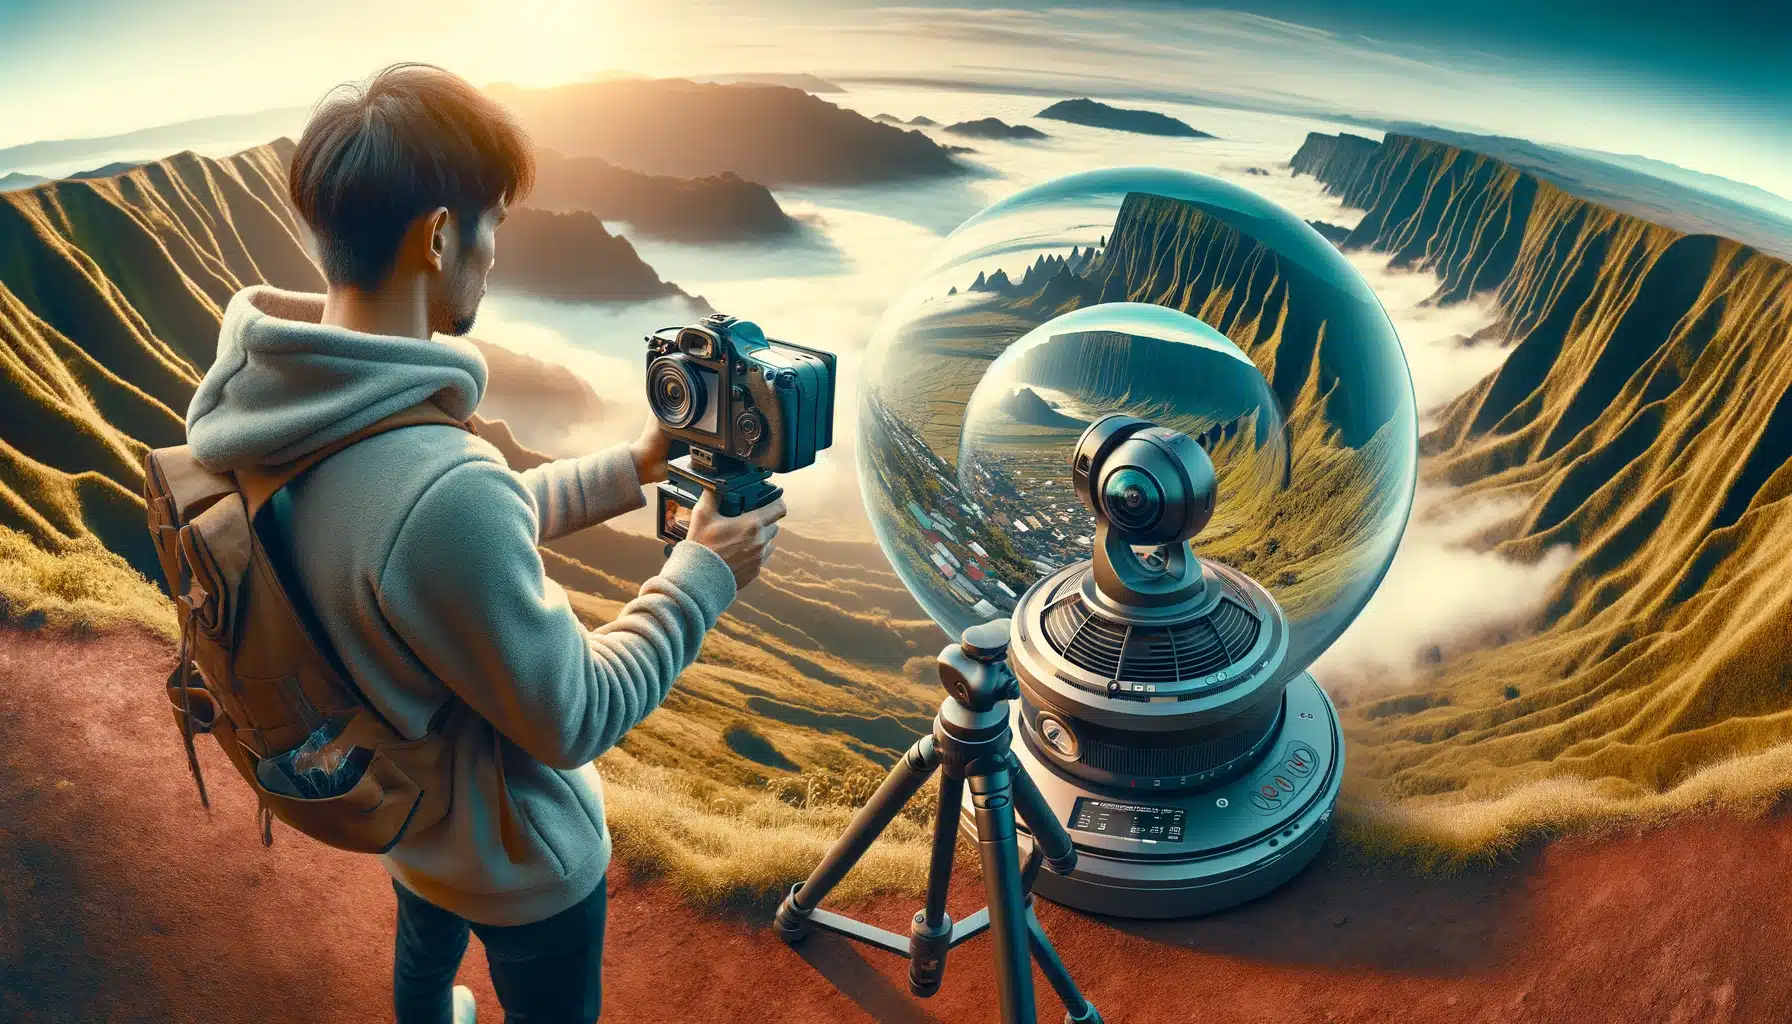
3D photography, also known as stereoscopic photography, has been captivating audiences since the 19th century. This art form creates the illusion of depth in images by combining two slightly offset photographs into one. The result is an immersive experience that brings scenes to life, offering viewers a chance to engage with photographs in a more dynamic way. To master 3D photography, one must delve into its foundational principles and explore advanced techniques that enhance the final output.
The Fundamentals of 3D Photography
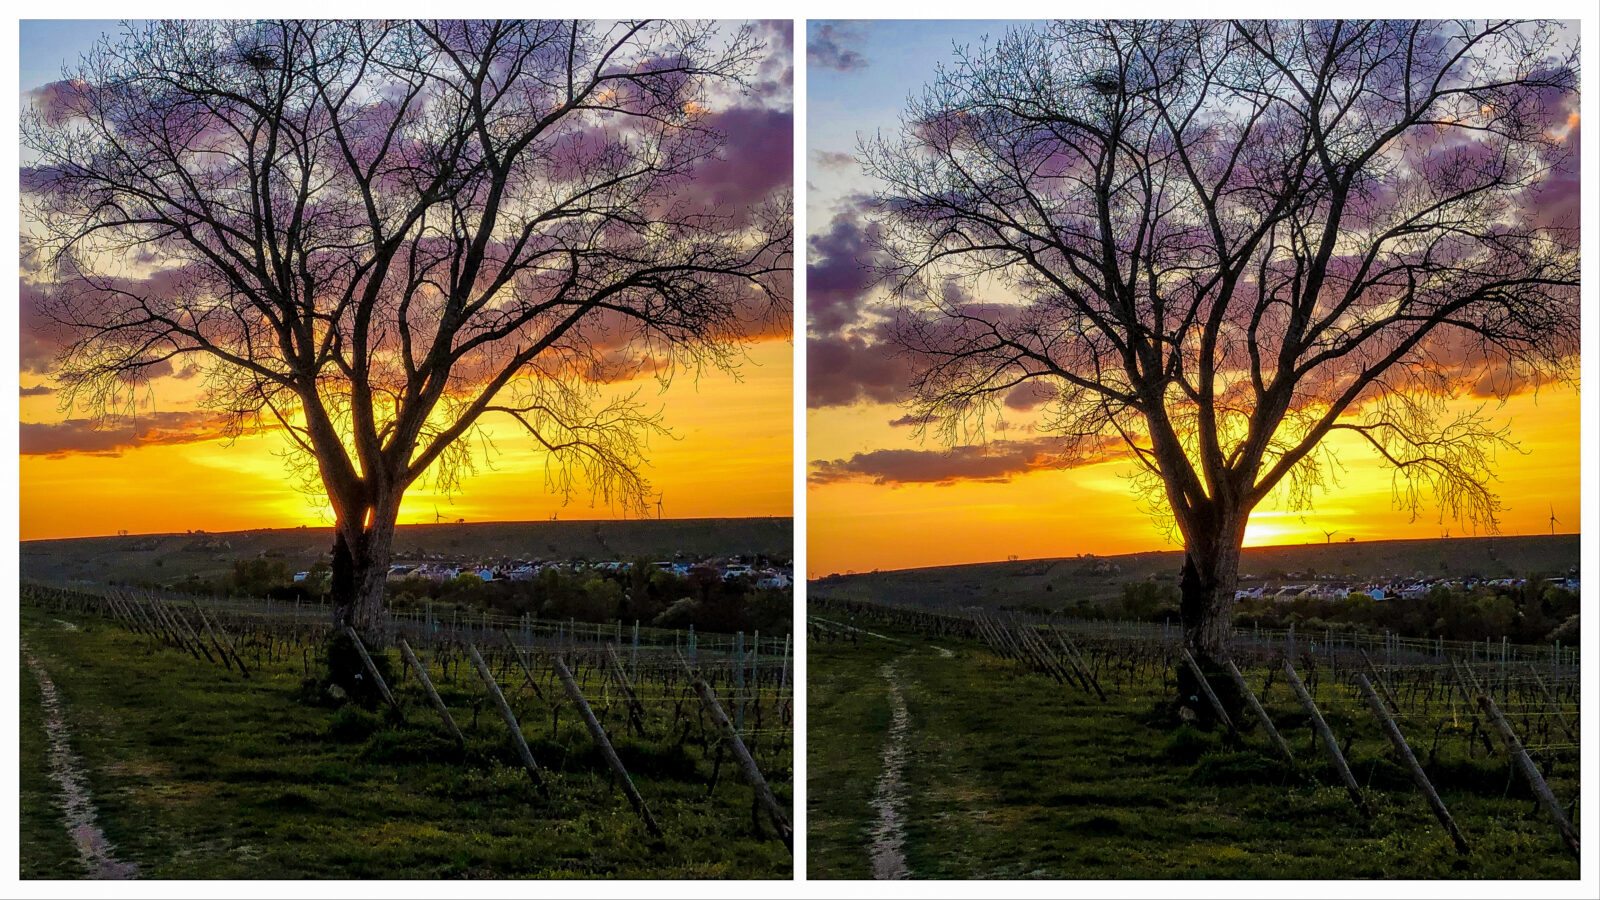
At the heart of 3D photography lies the concept of stereopsis, the process by which the human brain interprets depth by combining images from both eyes. To replicate this experience with a camera, two photographs are taken from slightly different angles, mimicking the distance between human eyes. When viewed with a stereoscope or 3D glasses, these images produce a perception of depth.
Equipment Essentials
To start with 3D photography, you need a few basic tools:
– **Stereoscopic Cameras**: These cameras have two lenses that mimic the human eyes, capturing two images simultaneously. Popular models include the Fujifilm FinePix Real 3D W3.
– **3D Lenses**: For DSLR users, a 3D lens attachment can convert your standard camera into a stereoscopic device.
– **Tripod**: Ensures stability and precision, especially critical when manually adjusting angles for dual-image captures.
– **3D Viewing Tools**: Options range from traditional stereoscopes to modern VR headsets and 3D-enabled screens.
Advanced Techniques for Stunning 3D Shots
While understanding the basics is essential, employing advanced techniques can transform your 3D photography from ordinary to extraordinary.
Perfecting Parallax
Parallax is the apparent shift in an object’s position when viewed from different angles. In 3D photography, controlling parallax is crucial for achieving depth. Experiment by varying the distance between your camera’s lenses or slightly shifting the camera’s position between shots. This can heighten the sense of depth and make certain elements pop.
Lighting and Shadows
Effective lighting can dramatically enhance the depth of a 3D image. Use lighting to create shadows and highlights that emphasize the contours and textures of your subjects. Directional lighting, such as side lighting, can accentuate depth by amplifying shadow effects.
Composition and Depth of Field
Compose your shots with depth in mind. Layering elements from the foreground to the background can create a more immersive experience. Additionally, manipulating the depth of field to blur the background or foreground can help emphasize the main subject, directing the viewer’s focus.
Post-Processing for 3D Photography
Post-processing plays a pivotal role in refining 3D images. Software like Adobe Photoshop and specialized 3D editing tools can assist in aligning and correcting images for the best results.
Image Alignment
Ensure that your dual images are perfectly aligned. Misalignment can cause discomfort or distort the 3D effect. Use software to adjust and align images, calibrating the horizontal and vertical axes for precision.
Color and Contrast Adjustments
Enhance the vibrancy and contrast of your images to make them stand out. Since 3D images rely heavily on visual impact, ensure that colors are vivid and contrasts are sharp to accentuate depth.
Anaglyph Creation
Anaglyphs are 3D images composed of two color layers, typically red and cyan, that create a stereoscopic effect when viewed with colored glasses. Post-processing software can assist in converting your images into anaglyph format.
Viewing and Sharing 3D Photographs
Sharing your 3D creations has never been easier, thanks to advancements in technology and social media platforms.
3D Displays and Devices
Modern 3D televisions, monitors, and VR headsets offer immersive ways to view 3D photographs. Ensure your images are formatted correctly for these devices to maintain quality and depth.
Online Platforms
Platforms like YouTube and Facebook support 3D content, allowing you to share your work with a broader audience. Engage with online communities dedicated to 3D photography to gain feedback and inspiration.
Challenges and Solutions in 3D Photography
As with any art form, 3D photography comes with its set of challenges. Understanding these can help you mitigate them effectively.
Ghosting and Crosstalk
Ghosting occurs when images overlap incorrectly, causing a double vision effect. Minimize this by ensuring perfect alignment and using quality viewing equipment.
Motion Artifacts
Capturing moving subjects can result in motion artifacts. To tackle this, use faster shutter speeds and experiment with different angles to reduce distortion.
Viewer Fatigue
Prolonged exposure to 3D content can cause eye strain. To alleviate this, ensure that your images are comfortable to view by maintaining proper alignment and avoiding excessive parallax.
Conclusion: The Future of 3D Photography
The future of 3D photography is bright, with technological advancements continually enhancing the way we capture and view images. As AR and VR technologies evolve, the potential for 3D photography expands, offering new avenues for creativity and expression. By mastering the techniques outlined above, photographers can create stunning 3D images that captivate and inspire. Whether you’re a seasoned professional or an enthusiastic beginner, the world of 3D photography offers endless possibilities for exploration and innovation.







Post Comment