Mastering Realistic 3D Photos: Techniques for Stunning Results
Understanding the Basics of 3D Photography
Before diving into the techniques, it is crucial to understand the basic concept of 3D photography. At its core, 3D photography aims to mimic human binocular vision by capturing two slightly offset images to create a perception of depth. This is achieved by simulating the slight difference in the perspective between our left and right eyes. When these two images are combined, the brain perceives a single 3D image.
Equipment Needed
To embark on a journey into 3D photography, you will need specific equipment. While a dual-lens camera specifically designed for 3D photography is ideal, you can also achieve excellent results with a single-lens camera by employing techniques such as the cha-cha method or by using a stereoscopic lens attachment. Additionally, a sturdy tripod is essential to maintain alignment between shots. For post-processing, software like Adobe Photoshop or dedicated 3D editing tools can be invaluable.
Techniques for Capturing 3D Photos
Stereoscopic Photography
Stereoscopic photography involves capturing two images from slightly different angles, similar to how our eyes perceive the world. The primary goal is to create a pair of images that, when viewed together, give a sense of depth. A dual-lens camera simplifies this process by capturing both images simultaneously. However, if you only have a single-lens camera, you can use the cha-cha method, which involves taking one photo, shifting the camera laterally by a few centimeters, and then taking a second photo.
Depth Mapping and Parallax
Depth mapping and parallax are essential concepts in 3D photography. Depth mapping involves creating a grayscale map that represents the distance of objects in the scene from the camera. This map can be used in post-processing to adjust the depth effect. Parallax, on the other hand, refers to the apparent displacement of objects due to a change in the observer’s position. By manipulating parallax in post-processing, you can enhance the 3D effect in your photos.
Anaglyph 3D Photography
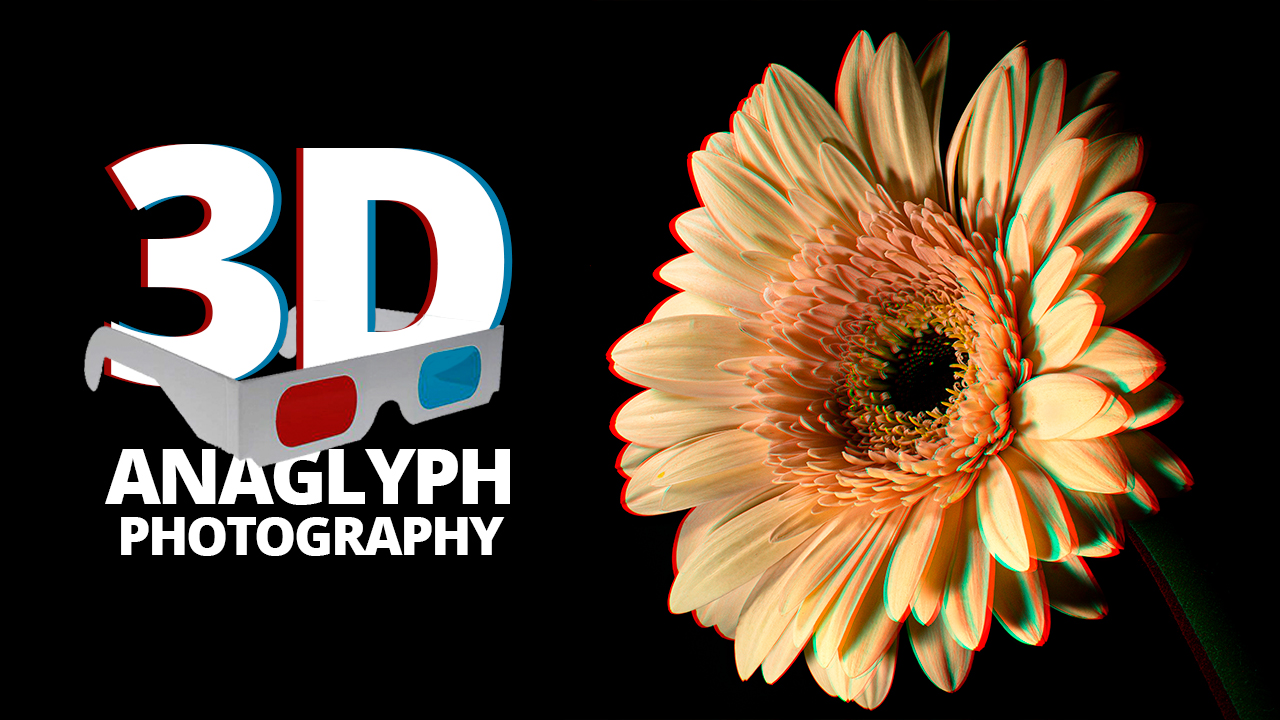
Anaglyph 3D photography is a classic method of creating 3D images that can be viewed with red-cyan glasses. This technique involves combining two images with different color filters. In post-processing, the left image is typically filtered with red, while the right is filtered with cyan. When viewed through the corresponding colored glasses, the brain merges the two images, creating a 3D effect. This method is cost-effective and easy to implement, making it accessible to hobbyists and professionals alike.
Post-Processing Techniques
Aligning and Merging Images
Once you have captured your images, the next step is to align and merge them to create a seamless 3D effect. This involves using software tools to ensure the images are perfectly aligned, eliminating any discrepancies caused by camera movement. Software like Adobe Photoshop offers features that allow you to manually adjust the alignment and merge the images into a single file that can be viewed in 3D.
Adjusting Depth and Perspective
After alignment, you can further enhance the 3D effect by adjusting depth and perspective. This involves fine-tuning the depth map and parallax settings to achieve the desired level of depth and dimensionality. Experimenting with these settings allows you to create more pronounced or subtle 3D effects, depending on the mood and atmosphere you wish to convey in your photo.
Color Correction and Enhancement
Color plays a significant role in the overall impact of a 3D photo. During post-processing, pay attention to color correction and enhancement to ensure that the final image is vibrant and true to life. This may involve adjusting saturation, contrast, and brightness levels. Additionally, ensure that any color filters used in techniques like anaglyph photography do not distort the natural colors of the image.
Viewing and Sharing 3D Photos
Choosing the Right Display Medium
The choice of display medium significantly impacts the viewing experience of 3D photos. Options range from traditional anaglyph glasses to more sophisticated 3D monitors and VR headsets. Each medium offers a different level of immersion, so choose one that best suits your audience and the intended viewing experience. For online sharing, consider platforms that support 3D content, allowing viewers to interact with and explore your photos in a virtual environment.
Optimizing for Different Devices
When preparing to share your 3D photos, it is essential to optimize them for different devices and platforms. Ensure that the file format and resolution are compatible with the intended display medium. For web-based sharing, consider compressing the file size without compromising quality to ensure quick loading times and a smooth viewing experience.
Conclusion
Mastering realistic 3D photography requires a combination of technical skills, creativity, and a keen eye for detail. By understanding the fundamental concepts and employing advanced techniques, photographers can create stunning 3D images that captivate and engage viewers. Whether you are a hobbyist or a professional, the world of 3D photography offers endless opportunities for exploration and innovation. With practice and dedication, you can elevate your photography skills and produce images that truly stand out in the digital realm.
#ChatGPT assisted in the creation of this article.







Post Comment