Mastering Parallax Photography: A Complete Guide
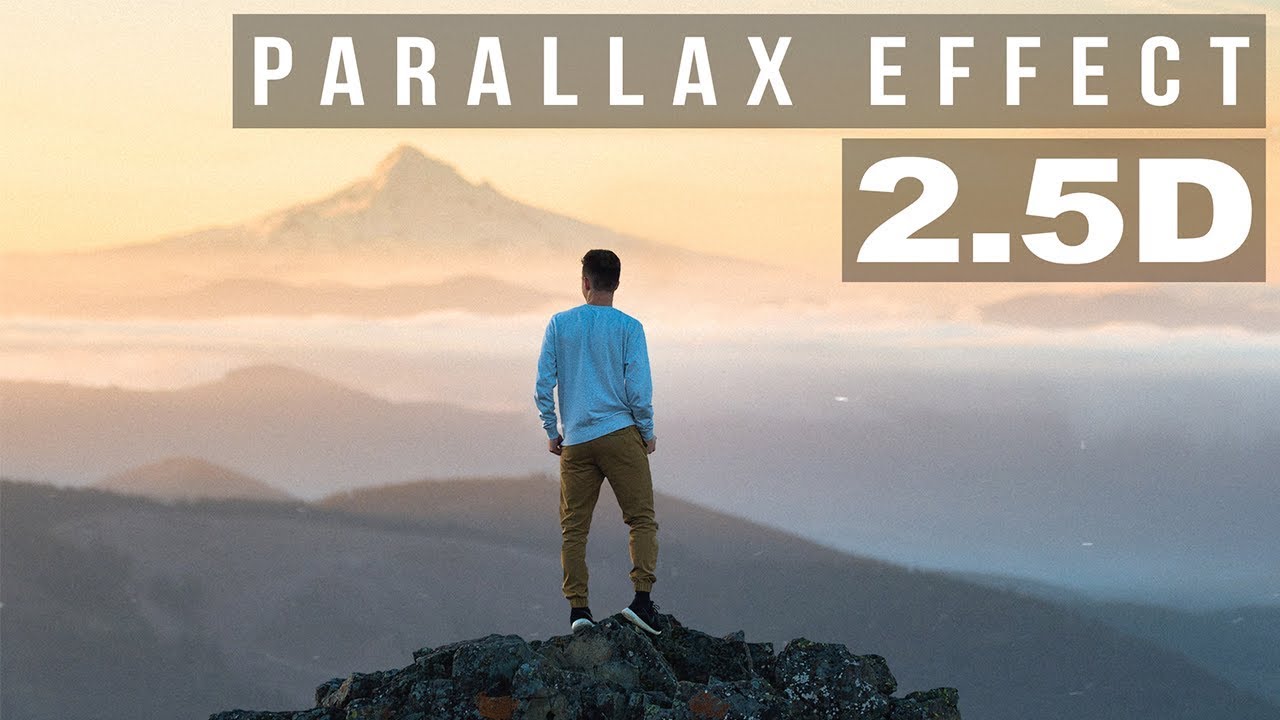
Parallax photography, an intriguing subset of 3D photography, offers viewers a depth-enhanced experience by creating an illusion of three-dimensionality from two-dimensional images. This technique relies on the human eye’s perception of depth, which is derived from the slight difference in the position of an object when viewed from different angles. When mastered, parallax photography can transform ordinary scenes into captivating visual stories that engage viewers on a deeper level.
Understanding the Basics of Parallax
Parallax is the apparent shift in the position of an object when viewed from different perspectives. In photography, this involves capturing two or more images from slightly different angles and combining them to create a sense of depth. The technique is akin to what our eyes do naturally to perceive depth, with each eye capturing a slightly different image which our brain then merges into a single three-dimensional perception.
Equipment Needed for Parallax Photography
While parallax photography can be attempted with basic equipment, specialized tools can enhance the quality of your results. Here’s a breakdown of the essential gear:
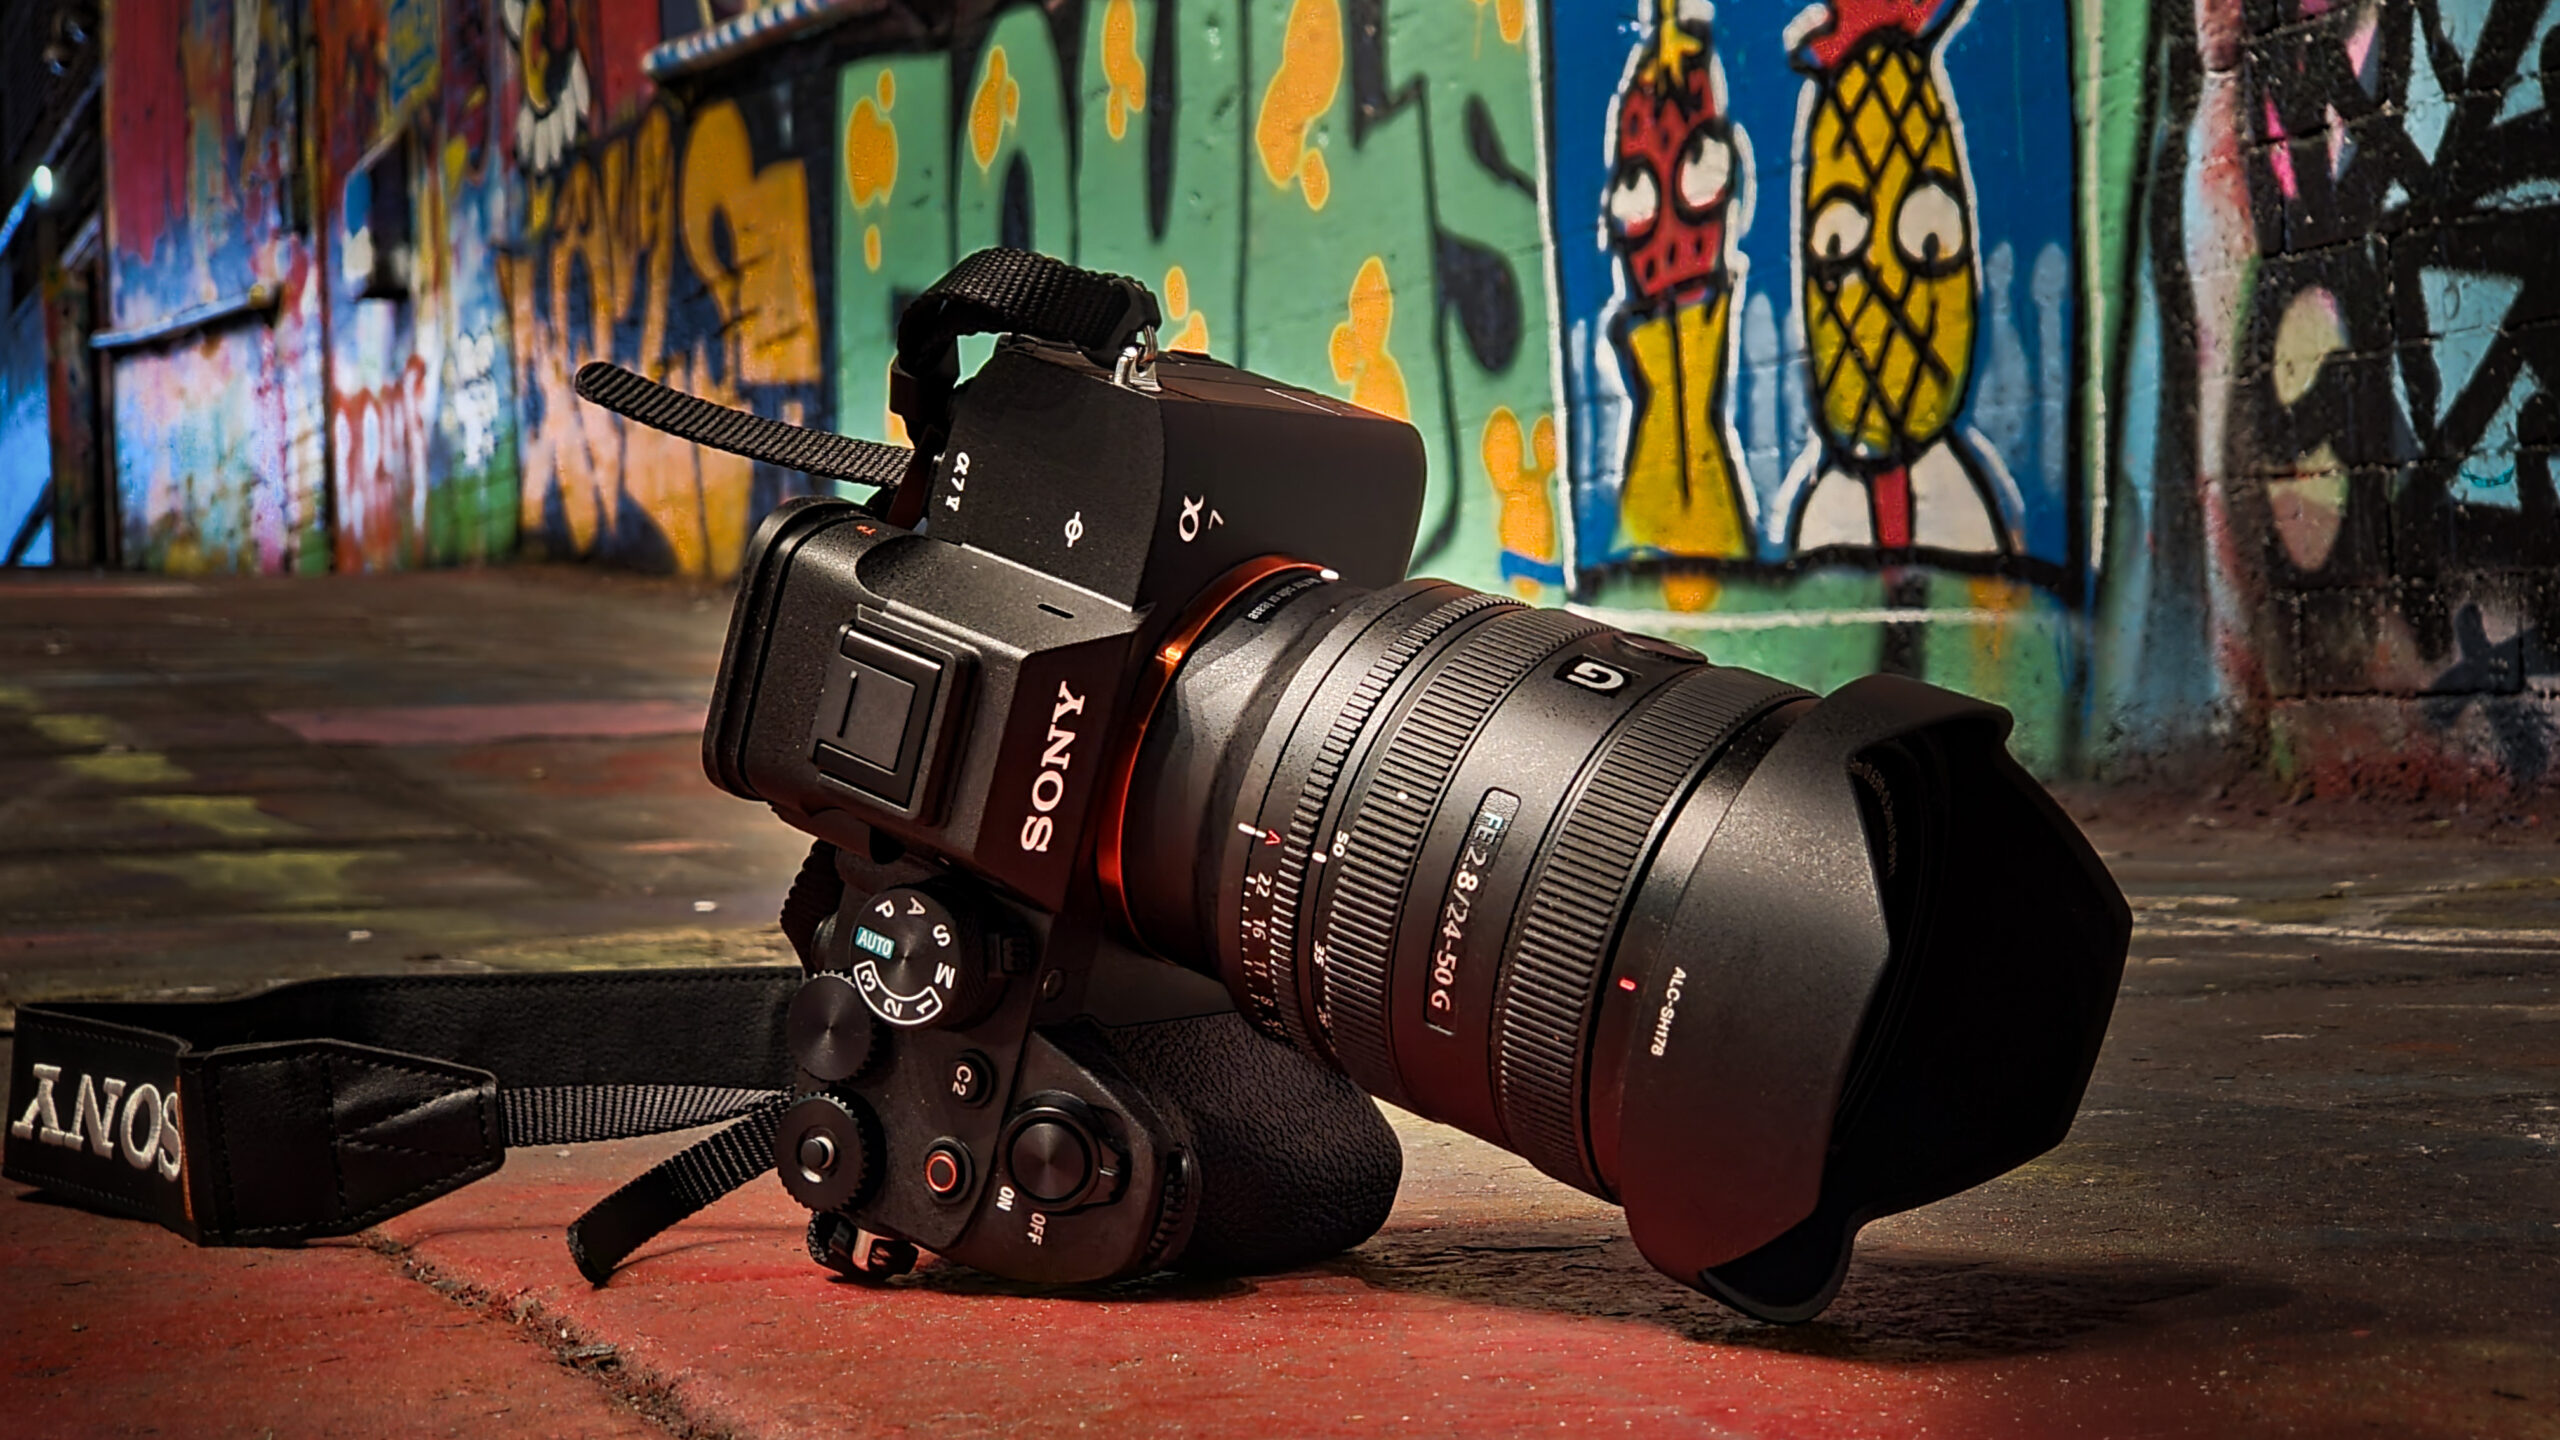
Camera
A DSLR or mirrorless camera with manual settings is ideal. These cameras allow you to control exposure, focus, and other settings crucial for capturing high-quality images.
Lenses
A wide-angle lens is often preferred for parallax photography as it can capture more of the scene, enhancing the depth effect. However, the choice of lens can vary depending on the subject and the desired effect.
Tripod
A sturdy tripod is essential to maintain consistent framing across multiple shots. It ensures stability and precision, crucial for aligning images during post-processing.
Slider or Rail
A camera slider or a rail system helps in making consistent, controlled lateral movements of the camera. This is vital for capturing images from slightly different angles, essential for creating the parallax effect.
Techniques for Capturing Parallax Images
Capturing the perfect parallax images involves several steps:
Choosing the Right Scene
Look for scenes with distinct foreground, middle ground, and background elements. A scene with layered depth provides the most effective parallax results.
Setting Up the Shot
Position your camera on a tripod and, if possible, use a slider or rail to ensure smooth lateral movement. Set your camera to manual mode to maintain consistent exposure across shots.
Capturing the Images
Begin by taking a shot from the initial position. Then, move the camera slightly along the slider or rail and capture another image. The distance moved between shots should be small to maintain subtlety in the effect. Repeat this process to capture multiple images from different angles.
Post-Processing Techniques
Once you’ve captured your images, the next step is to process them to create the parallax effect. Here’s how:
Aligning the Images
Use photo editing software like Adobe Photoshop or Lightroom to align the images. This step is crucial to ensure that the transition between images appears seamless.
Layering and Masking
Layer the images on top of each other and use masking techniques to reveal different parts of each image. This will enhance the feeling of depth and movement in your composition.
Creating the Animation
Use video editing software to animate your sequence of images. By creating a short animation that transitions between the slightly different angles, you create the illusion of depth and movement. Adjust the timing of the transitions to enhance the effect and suit the narrative of your scene.
Advanced Techniques and Tips
To take your parallax photography to the next level, consider these advanced techniques:
Incorporating Motion
Adding elements of motion, such as moving clouds or water, can enhance the parallax effect. Capture these elements in separate shots and blend them using advanced masking techniques.
Using 3D Rendering Software
For those familiar with 3D modeling, software like Blender can be used to create virtual parallax effects. By combining real images with 3D models, you can create surreal scenes that push the boundaries of traditional photography.
Experimenting with Light and Shadow
Light plays a crucial role in enhancing depth. Experiment with different lighting conditions and shadow placements to add more dimensionality to your images.
Applications of Parallax Photography
Parallax photography has diverse applications, from enhancing personal projects to professional endeavors:
Marketing and Advertising
Parallax images are increasingly used in digital marketing to create engaging advertisements. The dynamic nature of these images captures attention and can effectively convey a brand’s message.
Virtual Tours
Real estate and tourism industries use parallax photography to create immersive virtual tours, offering potential clients a more realistic view of properties and locations.
Artistic Projects
Artists and photographers use parallax techniques to push creative boundaries, crafting works that challenge viewers’ perceptions and invoke deeper emotional responses.
Conclusion
Mastering parallax photography opens up a world of creative possibilities. By understanding the principles of parallax, investing in the right equipment, and honing your techniques through practice and experimentation, you can create stunning images that captivate and engage. Whether for personal satisfaction or professional use, the art of parallax photography has the power to transform how we experience the visual world, offering a dynamic perspective that truly stands out.


Post Comment