Master 3D Photography: A Beginner’s Ultimate Guide
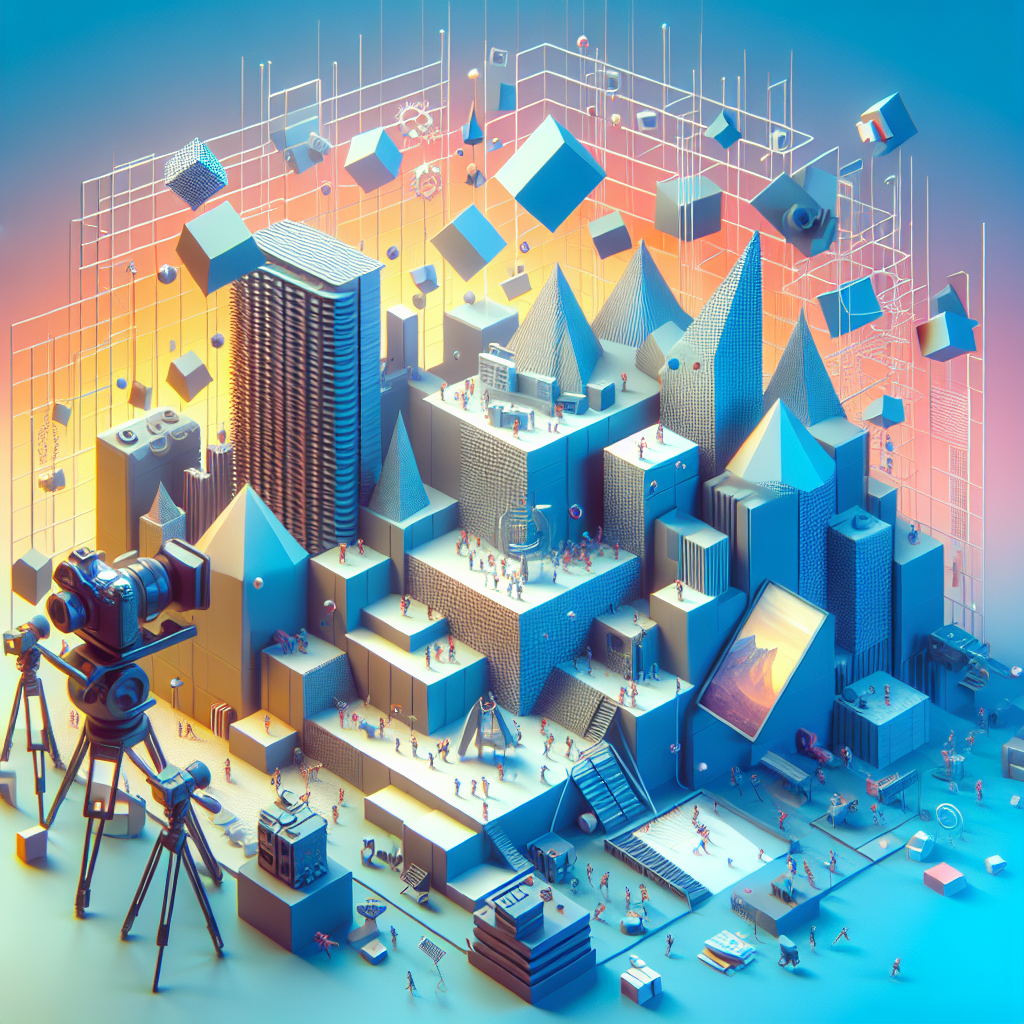
3D Photography
3D photography, also known as stereoscopic photography, is a fascinating technique that captures the world from two slightly different perspectives, simulating the way human eyes perceive depth. This method creates images that give viewers a sense of immersion and realism, adding an extra dimension to the visual experience. As a beginner, diving into 3D photography can be both exciting and challenging. This guide aims to provide you with a comprehensive understanding of the fundamental techniques, equipment, and post-processing skills required to master 3D photography.
Understanding the Basics of 3D Photography
Before delving into the specifics, it is crucial to understand the basic principle behind 3D photography: binocular vision. Human eyes are roughly 2.5 inches apart, allowing them to capture two slightly different images. The brain then combines these images to create a perception of depth. 3D photography mimics this process by capturing two images from slightly different angles and combining them to produce a stereoscopic effect.
Essential Equipment for 3D Photography
Stereo Cameras
Stereo cameras are designed to capture images simultaneously from two lenses, mimicking the distance between human eyes. These cameras are the most straightforward way to create 3D images, as they eliminate the need for manual alignment and synchronization.
Single-Lens Cameras
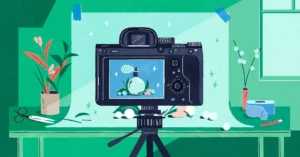
If you don’t have a stereo camera, you can still capture 3D images using a single-lens camera. This method involves taking two separate shots from slightly different positions. To achieve this, you can use a tripod for stability and ensure that the subject remains stationary between shots.
Smartphones and Apps
Many modern smartphones come equipped with dual cameras, making them suitable for 3D photography. Additionally, there are numerous apps available that can help you align and combine images to create a 3D effect.
Techniques for Capturing 3D Images
Parallel and Cross-Eyed Viewing
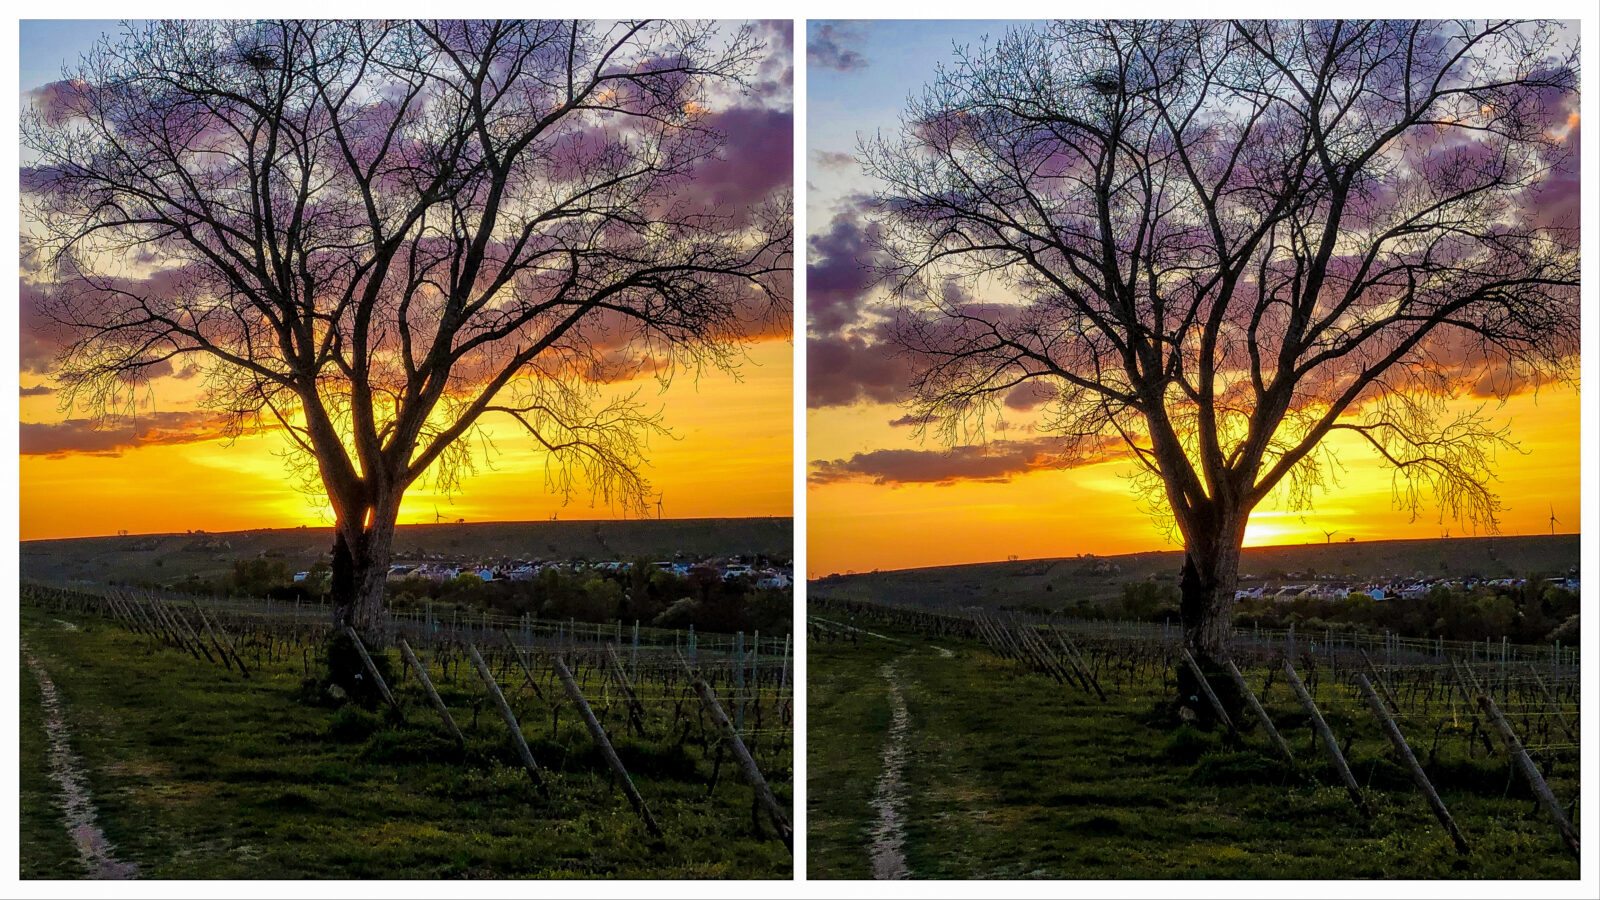
These are two primary techniques used to view 3D images without special equipment. Parallel viewing involves looking at images as if they are in the distance, while cross-eyed viewing requires you to look at images as if they are closer. Both methods require practice but can be useful for reviewing your work.
Taking the Shots
When capturing 3D images, it’s important to keep a consistent horizontal distance between your shots, usually between 2.5 to 3 inches. Ensure that both shots are taken from the same height and angle to avoid distortion. For dynamic subjects, use burst mode to capture images in quick succession.
Lighting and Depth
Lighting plays a crucial role in 3D photography. Ensure your subjects are well-lit to highlight textures and depth. Side lighting can enhance the 3D effect by casting shadows that add to the perception of depth.
Post-Processing Techniques
Software Tools
There are several software options available for creating 3D images. Adobe Photoshop, StereoPhoto Maker, and GIMP are popular choices that offer various tools for aligning, adjusting, and combining stereo pairs.
Aligning and Adjusting Images
Once you’ve captured your images, the next step is to align them. This involves adjusting the images so that corresponding points in each image match up. Most software tools have automatic alignment features, but manual adjustments may be necessary for the best results.
Creating the 3D Effect
After aligning your images, you can create the 3D effect by choosing a method of viewing or presentation. Anaglyphs, which use red and cyan glasses, are a common choice. Alternatively, you can create side-by-side images for parallel or cross-eyed viewing.
Presenting Your 3D Images
Anaglyph Glasses
Anaglyph images are perhaps the most accessible way to share 3D images, as they only require inexpensive red-cyan glasses to view. This method works well for online sharing and print.
VR Headsets
Virtual reality headsets offer an immersive way to experience 3D photography. By converting your images into a format compatible with VR devices, you can provide viewers with an engaging 3D experience.
3D Displays
Some modern TVs and monitors support 3D viewing with polarized glasses. This method provides excellent image quality and is ideal for home presentations.
Challenges and Tips for Beginners
Dealing with Motion
One of the main challenges in 3D photography is capturing moving subjects. Using burst mode or a fast shutter speed can help, but it’s often best to start with static subjects.
Learning to See in 3D
As you practice, you’ll develop an eye for scenes that work well in 3D. Look for compositions with distinct foreground, middle ground, and background elements to maximize the depth effect.
Experimenting with Techniques
Don’t be afraid to experiment with different techniques and equipment. Try various lighting setups, viewing methods, and post-processing techniques to find what works best for you.
Conclusion
Mastering 3D photography requires patience, practice, and a keen eye for detail. By understanding the principles of binocular vision, investing in suitable equipment, and honing your shooting and editing skills, you can create stunning 3D images that captivate and engage your audience. Whether you’re capturing the intricate details of a landscape, the dynamic motion of a sports event, or the subtle expressions of a portrait, 3D photography offers a unique way to see and share the world around you. Embrace the challenge and enjoy the creative journey of bringing your images to life in three dimensions.
#ChatGPT assisted in the creation of this article.




Post Comment