Mastering Anaglyph 3D Photography: A Comprehensive Guide
Anaglyph 3D photography is a fascinating technique that merges the art of photography with the science of stereoscopy to create images that appear three-dimensional when viewed through colored glasses. This method has been around since the 19th century, and despite the advent of more modern 3D technologies, it remains popular due to its accessibility and simplicity. This guide aims to provide a comprehensive understanding of mastering anaglyph 3D photography, from the basics to advanced techniques.
Understanding the Basics of Anaglyph 3D
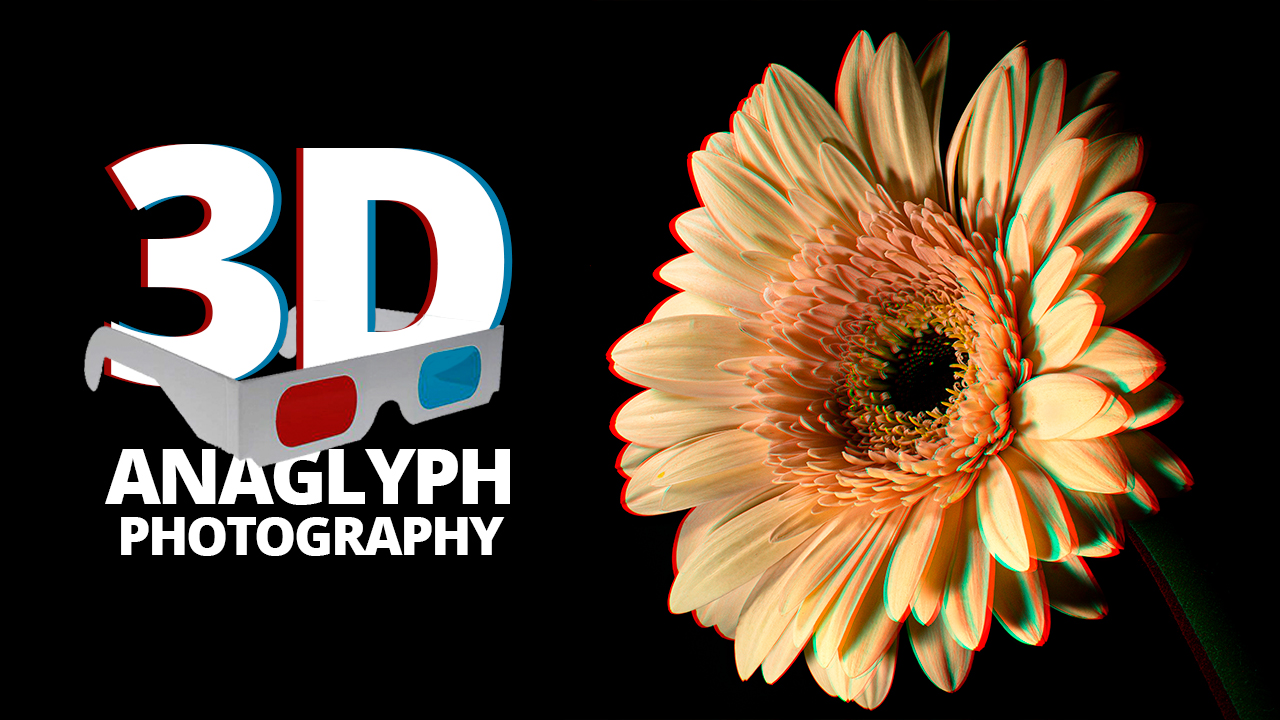
To appreciate the art of anaglyph 3D photography, it’s crucial to understand the basic principles that underpin it. Anaglyph images are created by superimposing two images of the same scene taken from slightly different perspectives. These images are filtered in complementary colors, traditionally red and cyan. When viewed through glasses with corresponding colored lenses, each eye perceives only one of the two images, tricking the brain into interpreting depth and creating a 3D effect.
The Science Behind Anaglyph 3D
The human brain perceives depth by processing the slight differences between the images seen by each eye, a phenomenon known as stereopsis. Anaglyph 3D photography mimics this process by presenting each eye with a filtered image. The red lens filters out the red image, allowing the cyan image to pass through, while the cyan lens does the opposite. This separation ensures that each eye receives a distinct image, creating the illusion of depth.
Equipment Needed for Anaglyph 3D Photography
Creating anaglyph 3D images requires some specific equipment, though it’s generally more accessible than other 3D photography techniques.
Cameras
While you can create anaglyph images with a single camera, using a dual-camera setup often yields better results. A stereo camera rig, which aligns two cameras side by side, allows for capturing images simultaneously from slightly different angles. Alternatively, a single camera can be used to take two successive shots by shifting its position horizontally, though this method is more suited to static subjects.
Tripod
A tripod is essential for maintaining stability and ensuring that both images are aligned properly. Consistent positioning helps prevent misalignment that can disrupt the 3D effect.
Anaglyph Glasses
To view your images in 3D, you’ll need a pair of anaglyph glasses. These glasses have lenses in two complementary colors, typically red and cyan, and are inexpensive and widely available.
Image Editing Software
Software like Adobe Photoshop or GIMP is necessary for combining the images and applying the color filters needed to create the anaglyph effect. These tools allow for precise control over image alignment, color balance, and other adjustments essential for achieving the best results.
Creating Anaglyph 3D Images: Step-by-Step Guide
Step 1: Capture the Images
Begin by capturing two images of your subject from slightly different angles. If using a single camera, take one shot, then shift the camera horizontally by a few inches and capture the second image. Ensure that the images are as similar as possible in terms of lighting and focus.
Step 2: Align the Images
Import both images into your chosen image editing software. Place each image on a separate layer, ensuring that they overlap as closely as possible. Use the software’s alignment tools to adjust any discrepancies.
Step 3: Apply Color Filtering
Convert the images to grayscale to eliminate any color distractions. Apply a red filter to the left image and a cyan filter to the right image. In Photoshop, for example, you can achieve this by adjusting the channel mixer settings for each layer.
Step 4: Merge the Images
Set the blending mode of the top layer to “Screen” or “Lighten” to combine the images. This step merges the two filtered images, creating the anaglyph effect. Fine-tune the alignment and color balance until the 3D effect is clear and comfortable to view with anaglyph glasses.
Step 5: Final Adjustments
Make any final adjustments to contrast, brightness, and sharpness to enhance the quality of the 3D effect. Once satisfied with the result, save your anaglyph 3D image in a suitable format for sharing or printing.
Advanced Techniques for Anaglyph 3D Photography
Choosing the Right Subjects
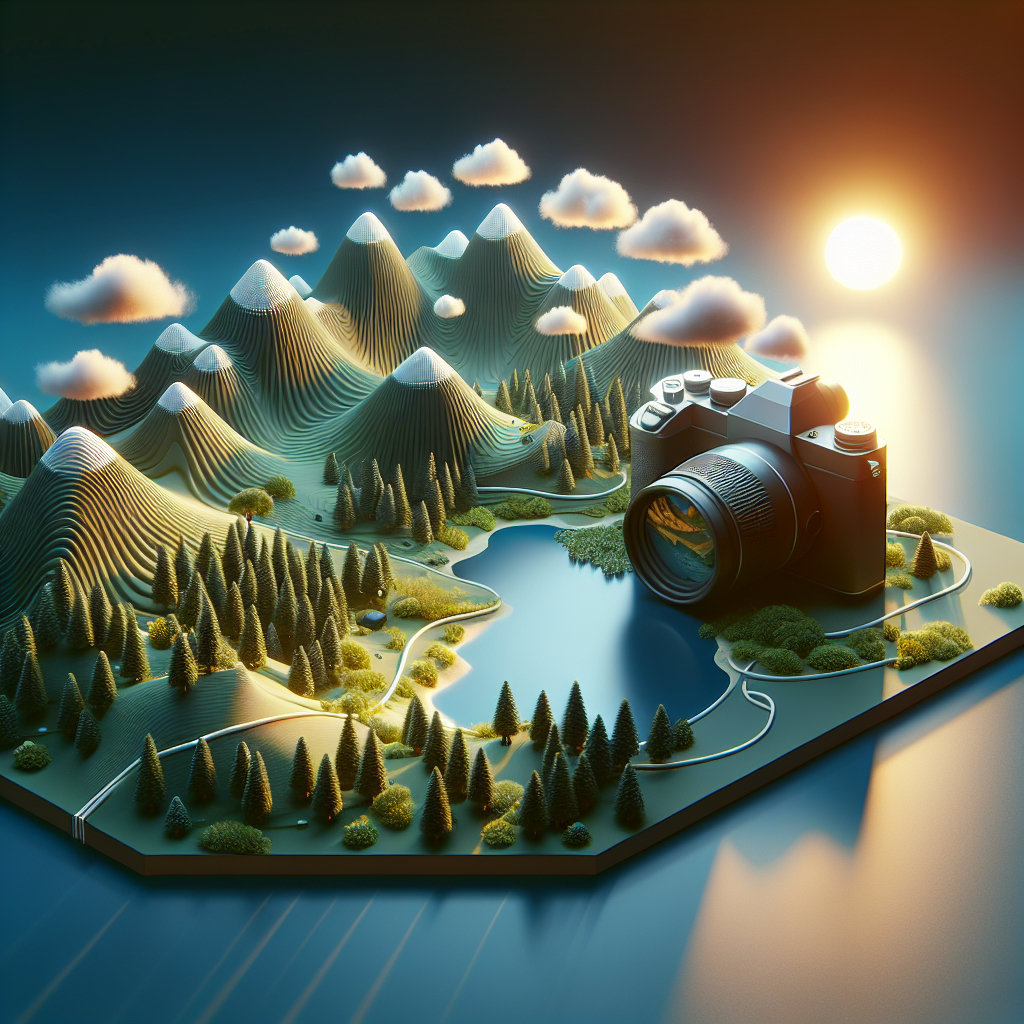
While anaglyph 3D photography can be applied to various subjects, some work better than others. Landscapes, architectural scenes, and still-life compositions often translate well into 3D, while fast-moving subjects can be challenging due to alignment issues.
Controlling Depth Perception
The distance between the two camera positions, known as the stereo base, significantly impacts the depth of the final image. Experimenting with different stereo base distances can help achieve the desired level of depth. A larger stereo base can create a more pronounced 3D effect but may also introduce distortions if overdone.
Minimizing Ghosting
Ghosting, or the appearance of faint double images, can detract from the 3D effect. To reduce ghosting, ensure that the images are precisely aligned and consider adjusting the contrast and brightness to balance the image.
Exploring Color Anaglyphs
While traditional anaglyph images use red and cyan filters, experimenting with other color combinations can produce unique effects. However, be mindful that non-standard colors may require custom anaglyph glasses for proper viewing.
Common Challenges and Solutions
Alignment Issues
Misalignment can severely impact the 3D effect. Utilizing a tripod and ensuring consistent camera positioning are essential to minimize this issue. Image editing software can also assist in fine-tuning alignment post-capture.
Color Bleeding
Color bleeding occurs when the color filters are not perfectly applied, leading to unwanted color artifacts. Carefully adjusting the channel mixer settings and using precise masks can help mitigate this problem.
Viewer Comfort
Extended viewing of anaglyph images can cause discomfort if the images are not properly aligned or if the depth effect is too extreme. Regularly check your images with anaglyph glasses to ensure they are comfortable to view.
Conclusion
Mastering anaglyph 3D photography involves a blend of technical knowledge and creative expression. By understanding the principles of stereoscopy, utilizing the right equipment, and honing your skills in image processing, you can create compelling 3D images that captivate viewers. Whether you’re a hobbyist or a professional, the world of anaglyph 3D photography offers endless possibilities for exploration and innovation. As you continue to experiment and refine your techniques, you’ll discover new ways to bring depth and dimension to your photographic work.
#ChatGPT assisted in the creation of this article.


Post Comment