Mastering 3D Photo Retouching: Top Techniques Revealed

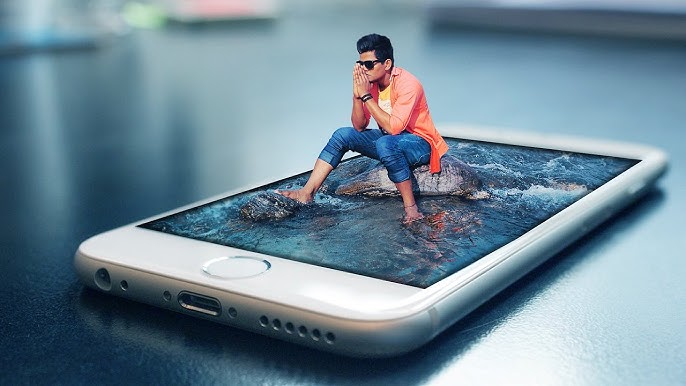
In the rapidly evolving world of digital art and imagery, 3D photo retouching has emerged as a vital skill for artists and designers. This technique transcends traditional 2D retouching by adding depth and realism to images, allowing for a more immersive visual experience. Whether you’re a seasoned professional or a budding enthusiast, mastering 3D photo retouching can significantly enhance your creative portfolio. This article will delve into the top techniques and tips for mastering this intricate art form.
Understanding the Basics of 3D Retouching
Before diving into advanced techniques, it’s essential to grasp the fundamentals of 3D photo retouching. This process involves manipulating a 3D model to enhance its appearance, just as traditional retouching enhances 2D images. However, 3D retouching accounts for additional dimensions like depth, texture, and lighting.
Software Selection
The first step to mastering 3D photo retouching is selecting the right software. Popular programs include Adobe Photoshop, Blender, Autodesk Maya, and ZBrush. Each offers unique features suited for different aspects of 3D design, from modeling and texturing to rendering and animation.
Understanding 3D Models
A 3D model consists of vertices, edges, and faces, forming a mesh that represents the object. Understanding how these elements interact is crucial to retouching. Familiarize yourself with UV mapping, which involves projecting the 3D model’s surface onto a 2D plane for texturing.
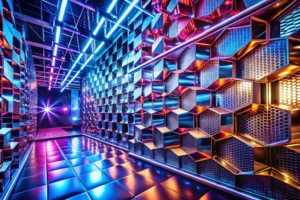
Lighting and Rendering
Lighting plays a critical role in 3D retouching, influencing the mood and realism of the image. Experiment with different lighting setups, such as three-point lighting, to achieve the desired effect. Rendering, the process of generating the final image, requires attention to detail to ensure the image’s quality and realism.
Advanced Techniques in 3D Photo Retouching
Once you’re comfortable with the basics, it’s time to explore advanced techniques that will elevate your 3D retouching skills.
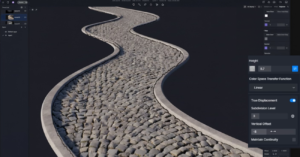
Texture Mapping
Texture mapping involves applying images or patterns to a 3D model to create realistic surfaces. This technique can simulate materials like wood, metal, or fabric. Mastering texture mapping requires understanding UV unwrapping, which involves flattening the model’s surface for easier editing.
Normal and Bump Mapping
To add intricate details without increasing the model’s complexity, normal and bump mapping are invaluable techniques. Normal mapping uses RGB information to simulate surface details, while bump mapping alters the surface’s appearance by manipulating light reflections. Both techniques add depth and realism without taxing system resources.
Subsurface Scattering
Subsurface scattering is a technique used to simulate the way light penetrates translucent materials like skin or wax, creating a soft, realistic appearance. This effect is crucial for achieving lifelike renders, particularly in character modeling.
Post-Processing
Post-processing is the final step in 3D photo retouching, involving adjustments to color balance, contrast, and sharpness. Software like Adobe Photoshop allows for fine-tuning of rendered images, enhancing their visual appeal. Use filters and layers to experiment with different styles and effects.
Tips for Effective 3D Photo Retouching
Practice Consistency
Consistency is key in 3D photo retouching. Develop a workflow that suits your style and stick to it. This approach ensures that your work maintains a high standard across different projects.
Stay Updated with Trends
The world of 3D design is constantly evolving. Stay updated with the latest trends and software updates by following industry blogs, participating in forums, and taking online courses. Continuous learning will keep your skills sharp and relevant.
Seek Feedback
Constructive criticism is invaluable for growth. Share your work with peers and mentors, and be open to feedback. Engaging with the 3D art community provides fresh perspectives and new ideas, enhancing your creative process.
Experiment and Innovate
Don’t shy away from experimenting with new techniques and styles. Innovation is the driving force behind artistic growth. Challenge yourself with complex projects that push the boundaries of your skills.
Common Challenges and Solutions
Like any art form, 3D photo retouching presents its own set of challenges. Understanding these obstacles and their solutions can streamline your workflow.
Managing File Sizes
3D projects can become cumbersome due to large file sizes. Optimize your workflow by using efficient file formats like OBJ or FBX and managing polygon counts. Consider using proxies for high-resolution models during the editing phase.
Rendering Times
Rendering can be time-consuming, especially for complex scenes. Optimize render settings by adjusting sampling rates, resolution, and lighting configurations. Use render farms or cloud-based services for high-demand projects.
Balancing Realism and Artistic Vision
Striking a balance between realism and artistic vision can be challenging. Define the purpose of your project and adjust your approach accordingly. Whether it’s hyper-realistic or stylized, ensure your work aligns with the intended message.
Conclusion
Mastering 3D photo retouching is a journey that blends technical expertise with artistic creativity. By understanding the basics, exploring advanced techniques, and continuously honing your skills, you can create stunning, lifelike images that captivate audiences. Embrace the challenges and joys of 3D retouching, and let your imagination soar in the world of digital art.


Post Comment