Mastering Stereo Camera Alignment for Perfect 3D Photos
Stereo Photography
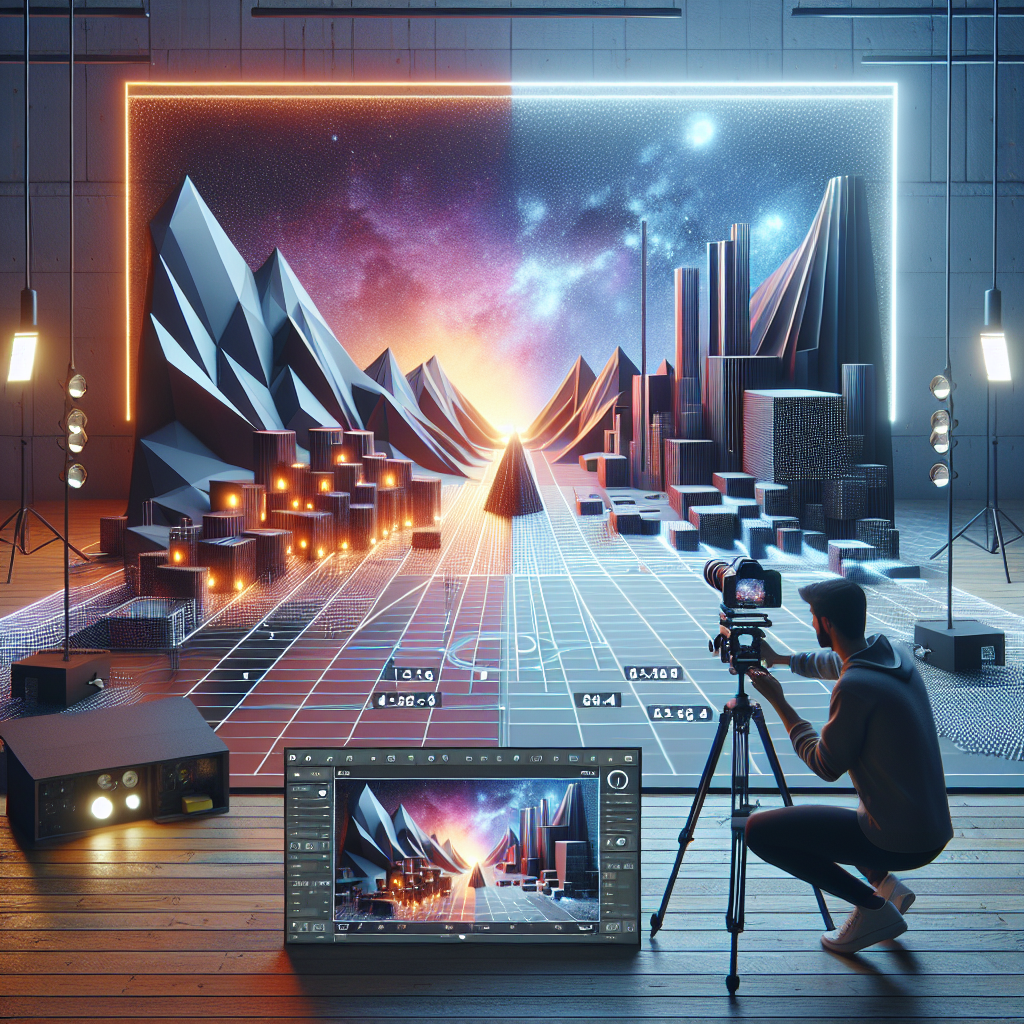
Stereo photography, a technique for creating 3D images, has been captivating enthusiasts and professionals alike for
decades. At its core, stereo photography involves capturing two slightly different images to mimic the way human
eyes perceive depth. This is typically achieved using a stereo camera setup, which consists of two cameras (or lenses)
placed side by side. Achieving perfect 3D photos hinges on mastering the alignment of these cameras. In this article,
we will delve into the intricacies of stereo camera alignment and offer insights to help you refine your 3D photography
skills.
Understanding the Basics of Stereo Camera Setup
Before diving into the alignment process, it’s essential to understand the basic components and setup of a stereo
camera system. A standard stereo camera setup consists of two synchronized cameras or lenses mounted on a rig. These
cameras should be aligned horizontally and spaced apart to mimic the distance between human eyes, typically around
6.5 cm. This spacing is known as the interaxial distance.
The goal is to capture two images from slightly different perspectives, which are then combined in post-processing to
create a stereoscopic effect. Proper alignment ensures that these images are perfectly coordinated, minimizing
discrepancies that can lead to poor 3D images.
Importance of Perfect Alignment
Perfect alignment is crucial when it comes to creating high-quality 3D photos. Misalignment can result in various
issues, such as ghosting, where parts of the image appear doubled, or excessive parallax, which can strain the viewer’s
eyes. Proper alignment ensures that the left and right images are coherent, providing a seamless 3D experience.
Misalignment can occur in various forms, such as horizontal, vertical, rotational, or even depth misalignment. Each
type of misalignment affects the final output differently, making it essential to address these issues early in the
process.
Types of Misalignment
Horizontal Misalignment
Horizontal misalignment occurs when the cameras are not perfectly parallel, leading to differences in the horizontal
axis of the images. This can cause discomfort or an unnatural 3D effect when viewed.
Vertical Misalignment
Vertical misalignment happens when the cameras are not level with each other. This is often more noticeable and can
cause significant discomfort to the viewer, as the brain struggles to reconcile the vertical disparity.
Rotational Misalignment
Rotational misalignment results when the cameras are tilted in relation to one another. This can cause the images to
appear skewed, making it difficult to achieve a natural 3D effect.
Depth Misalignment
Depth misalignment is less common but occurs when the cameras are not at the same distance from the subject. This
causes one image to be closer than the other, distorting the 3D perception.
Steps to Achieve Perfect Alignment
Step 1: Choose the Right Equipment
The first step to achieving perfect alignment is selecting the right gear. Invest in a reliable stereo camera rig
that allows for precise adjustments. High-quality tripods with adjustable heads are also essential for achieving
perfect alignment.
Step 2: Set the Interaxial Distance
Determine the appropriate interaxial distance based on the scene and desired 3D effect. For most scenarios, a
distance of around 6.5 cm is suitable. However, for more dramatic effects or specific subjects, adjusting this
distance may be necessary.
Step 3: Level the Cameras
Ensure that both cameras are level with each other. Use a spirit level to confirm that the cameras are horizontally
aligned. This will prevent vertical misalignment and ensure that the images are consistent.
Step 4: Align the Cameras Horizontally
Adjust the cameras so that they are parallel and facing the same direction. Use a laser pointer or a target in the
distance to ensure that both cameras are aimed at the same point. This helps prevent horizontal misalignment.
Step 5: Calibrate the Rotation
Check for rotational misalignment by comparing the angles of both cameras. Use the rig’s fine-tuning adjustments to
correct any discrepancies in the camera angles. This step is crucial for preventing skewed images.
Step 6: Synchronize the Shutters
To capture images simultaneously, synchronize the camera shutters. This can be done using remote triggers or
synchronization cables. Synchronized shutters prevent motion discrepancies that can disrupt the 3D effect.
Post-Processing Techniques
Even with perfect alignment during shooting, post-processing is crucial in achieving flawless 3D photos. Use
specialized software to adjust any remaining disparities and enhance the stereoscopic effect. Software like Adobe
Photoshop or dedicated 3D image editors can help correct minor alignment issues, adjust depth levels, and ensure
both images are perfectly synchronized.
Convergence and Divergence
Adjust the convergence and divergence of the images in post-processing. Convergence refers to the point where the
two images align, while divergence is the extent to which they deviate. Proper adjustment ensures that the images
merge seamlessly, enhancing the 3D effect.
Color and Exposure Matching
Ensure that both images have consistent color and exposure levels. Disparities can cause the images to appear
disjointed and disrupt the 3D effect. Use color correction tools to balance the images and achieve uniformity.
Common Challenges and Solutions
Challenge: Environmental Factors
Environmental factors such as lighting and weather conditions can affect the alignment process. Overcome these
challenges by choosing optimal shooting times and using diffusers or reflectors to control lighting.
Challenge: Moving Subjects
Capturing moving subjects in 3D can be challenging due to the need for synchronization. Use high-speed shutters and
practice timing to capture the perfect moment.
Challenge: Complex Scenes
Complex scenes with varying depths can complicate alignment. Focus on key subjects and adjust the interaxial distance
as needed to emphasize the desired 3D effect.
Conclusion
Mastering stereo camera alignment is a skill that requires patience, precision, and practice. By understanding the
types of misalignment, choosing the right equipment, and following a systematic approach, you can create stunning 3D
photos that captivate viewers. Remember, post-processing is a critical step to refine and perfect your images. With
dedication and attention to detail, you can elevate your 3D photography skills and produce images that truly stand
out.
#ChatGPT assisted in the creation of this article.








Post Comment