Optimize Your 3D DSLR Setup for Stunning Results

The world of photography has evolved drastically over the past few decades, and the introduction of 3D technology has added an exciting dimension to the art. 3D DSLR photography enables photographers to capture images with depth, creating a more immersive experience for viewers. However, achieving stunning 3D results requires more than just a basic setup. To truly optimize your 3D DSLR setup, it is essential to understand the equipment, techniques, and post-processing methods that will help you create captivating three-dimensional images.
Understanding 3D Photography
Before diving into the specifics of optimizing your 3D DSLR setup, it’s crucial to understand the fundamentals of 3D photography. 3D images are created by capturing two slightly offset images that simulate the different perspectives of the human eyes. These images are then combined to create a single 3D image that gives the illusion of depth.
The Role of DSLR Cameras in 3D Photography
DSLR cameras are favored by many photographers for their versatility, manual control, and high image quality. In 3D photography, a DSLR camera can be an excellent choice due to its ability to capture detailed images and support various lenses and accessories. By using a DSLR camera, you can experiment with different settings, lenses, and techniques to produce stunning 3D images.
Setting Up Your 3D DSLR Camera
Optimizing your 3D DSLR setup begins with the camera itself. Here are some key considerations:
Choosing the Right DSLR Camera
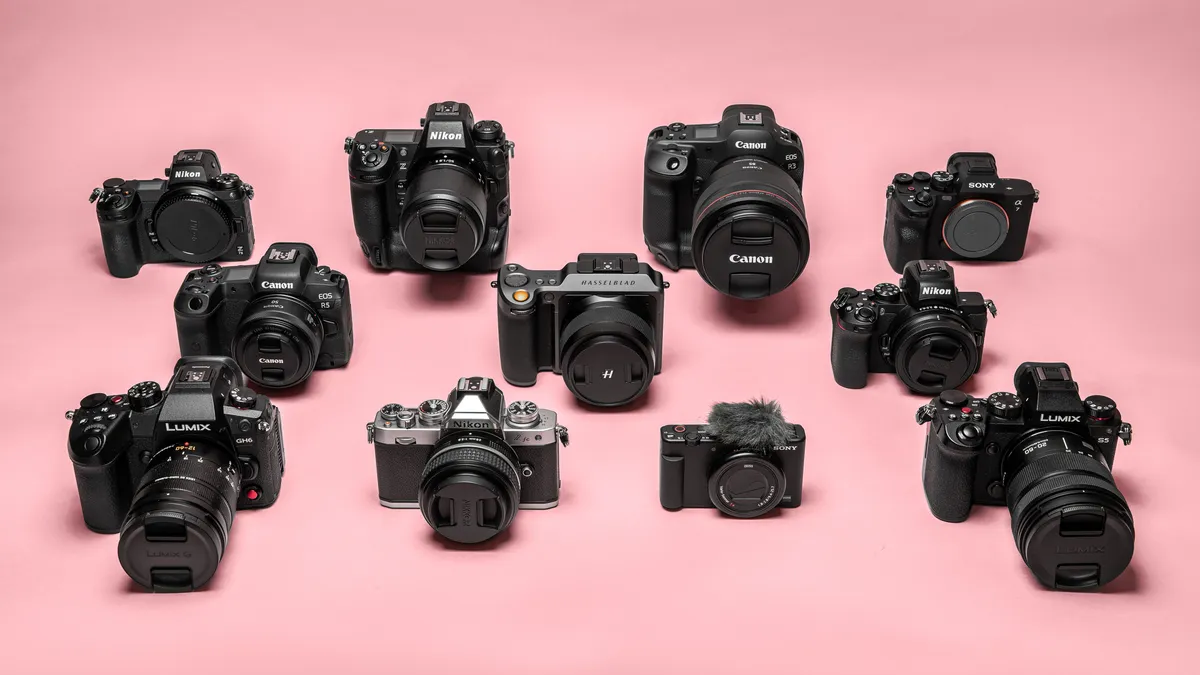
Not all DSLR cameras are created equal when it comes to 3D photography. To achieve the best results, you’ll want a camera that offers high resolution, excellent low-light performance, and the ability to shoot in RAW format. Additionally, look for a camera with a fast shutter speed to capture moving subjects effectively.
Selecting Lenses for 3D Photography
Lenses play a critical role in 3D photography. A lens with a focal length of 50mm is often considered the best choice for capturing images that closely resemble human vision. However, experimenting with different focal lengths can yield interesting results. Wide-angle lenses can enhance the sense of depth, while telephoto lenses can compress the scene and create unique perspectives.
Using a 3D Rig
A 3D rig is an essential piece of equipment for capturing 3D images with a DSLR camera. This rig holds two cameras side by side at a precise distance, simulating the distance between human eyes. By capturing images simultaneously, the rig ensures that both perspectives are aligned, making it easier to create a cohesive 3D image.
Mastering 3D Photography Techniques
With your DSLR camera set up for 3D photography, it’s time to explore the techniques that will help you create stunning images.
Perfecting the Parallax
Parallax refers to the apparent shift in position of an object when viewed from different angles. To create an effective 3D image, you need to carefully control the parallax between the two images. Adjust the distance between the cameras on the rig to achieve the desired level of depth. Keep in mind that too much parallax can cause discomfort or distortions in the final image.
Controlling Depth of Field
Depth of field is a powerful tool in 3D photography. By controlling the focus and depth of field, you can guide the viewer’s attention and enhance the sense of depth in your images. Use a wide aperture to create a shallow depth of field, isolating your subject from the background. Alternatively, use a smaller aperture to keep more of the scene in focus and emphasize the spatial relationship between objects.
Lighting for 3D Photography
Lighting is another critical factor in creating stunning 3D images. Soft, diffused lighting can enhance the sense of depth by reducing harsh shadows and highlights. Experiment with different lighting setups, such as using reflectors or diffusers, to achieve the desired effect. Additionally, consider the direction and angle of the light to create interesting shadows and highlights that add depth to your images.
Post-Processing for 3D Photography
Once you’ve captured your 3D images, post-processing is essential to bring out the best in your work. Here are some tips for optimizing your 3D images in post-production:
Combining Images
The first step in post-processing 3D images is to combine the two images captured by your rig. Use photo editing software such as Adobe Photoshop or specialized 3D software to align and merge the images. Pay attention to details such as alignment, rotation, and scaling to ensure a seamless final image.
Color Correction and Enhancement
Color correction and enhancement can significantly impact the final look of your 3D images. Adjust the white balance, contrast, and saturation to create a visually appealing image. Additionally, consider enhancing shadows and highlights to emphasize the depth and dimensionality of your photos.
Creating Anaglyphs or Side-by-Side Images
Depending on your intended display method, you may need to create anaglyphs or side-by-side images. Anaglyphs are typically viewed with red-cyan glasses and involve converting the images to grayscale before adding color filters. Side-by-side images are viewed using specialized 3D displays or VR headsets and require precise alignment for the best results.
Displaying Your 3D Images
The final step in your 3D photography journey is displaying your images for others to enjoy. Consider the following options:
Printing 3D Images
Printing 3D images can be a rewarding way to showcase your work. Lenticular printing, which uses lenses to create the illusion of depth, is a popular choice for printing 3D images. Alternatively, you can create anaglyph prints that viewers can enjoy with red-cyan glasses.
Digital Displays
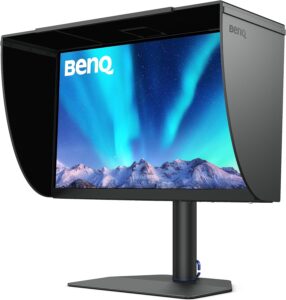
Digital displays, such as 3D monitors or virtual reality headsets, offer an immersive way to experience 3D images. Ensure your images are formatted correctly for the chosen display method to maintain the quality and depth of your work.
Conclusion
Optimizing your 3D DSLR setup for stunning results is a multi-faceted process that involves selecting the right equipment, mastering shooting techniques, and refining your images in post-production. By understanding the principles of 3D photography and experimenting with different setups and techniques, you can create captivating images that transport viewers into a three-dimensional world. Whether you’re printing your images or displaying them digitally, the possibilities for showcasing your 3D work are endless. Embrace the challenge and creativity of 3D photography, and watch as your images come to life with depth and dimension.







Post Comment